Our pulse oximeter machine is one of the most useful things we own, and also one of the most annoying devices ever. Between false alarms and worn out sensors that insurance doesn’t provide very many of in the first place, we spent a lot of time being frustrated in our early weeks of learning the ropes at home.
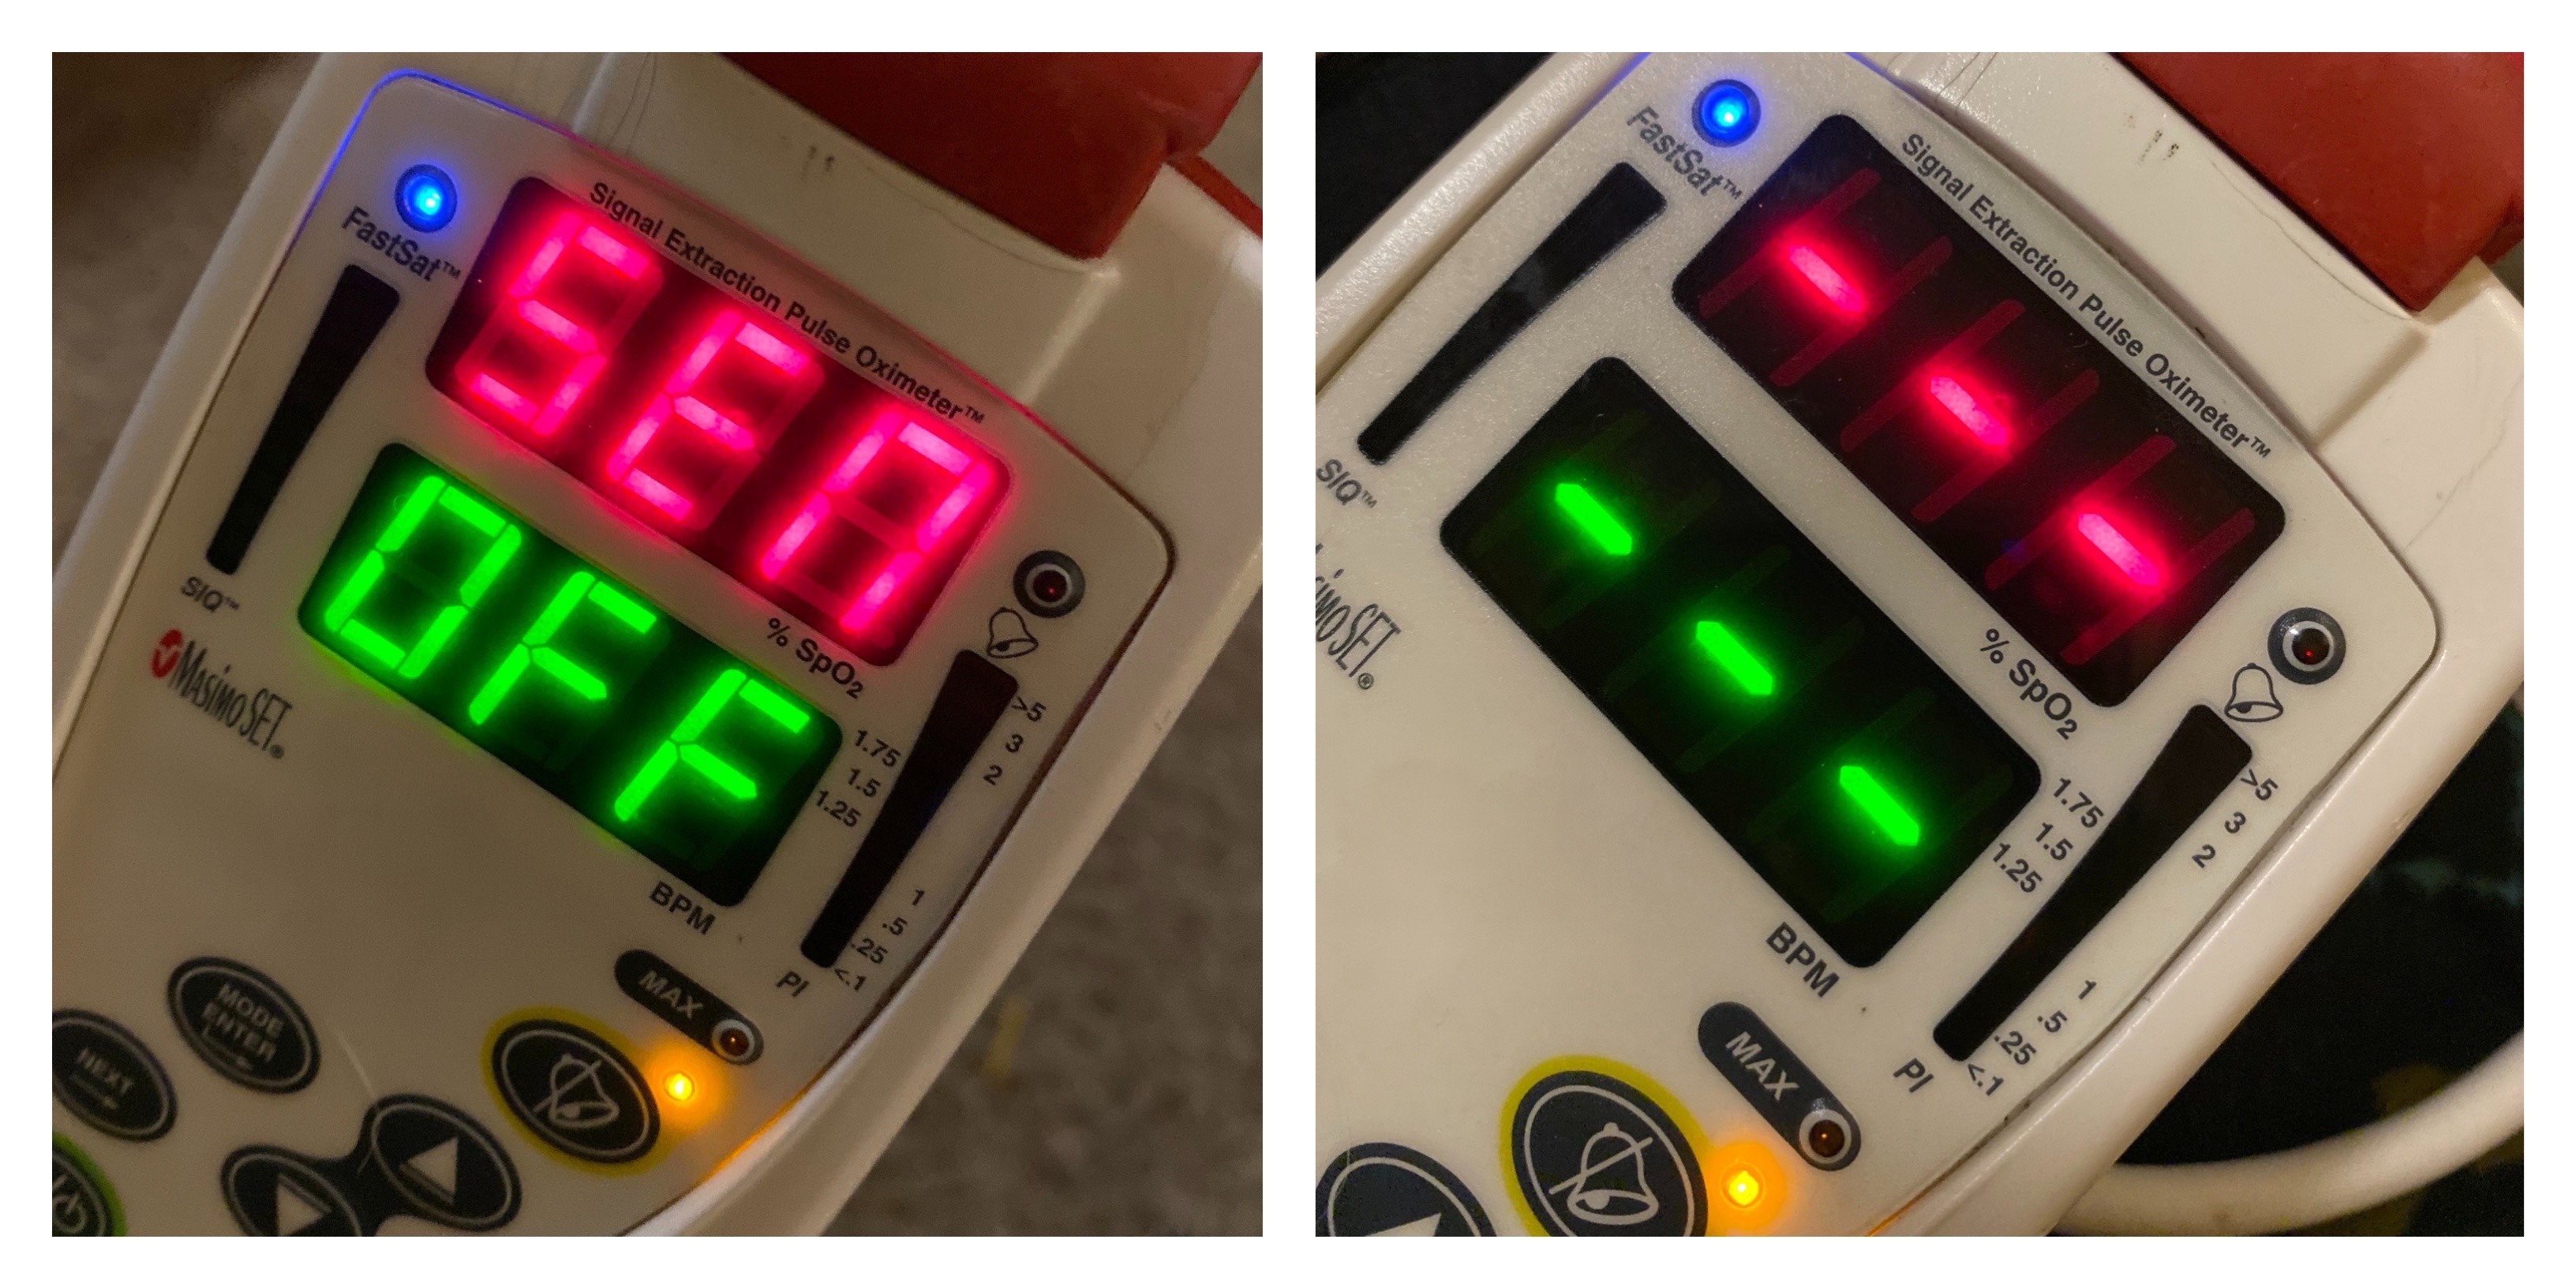
It took some time, but we ultimately learned some techniques that have helped us to not only curb (most) of the false alarm beeps, but also to make the sensors last longer. We typically replace a sensor once every 2-3 weeks now compared to 2-3 times per week when we first came home.
1. Replace the Tapes
We get new replacement tapes (top left) from our DME. We get enough to use a new one each day. Typically we only go through a few each week. These are our preference, but we’ve also used just about any kind of medical tape that we’ve had on hand.
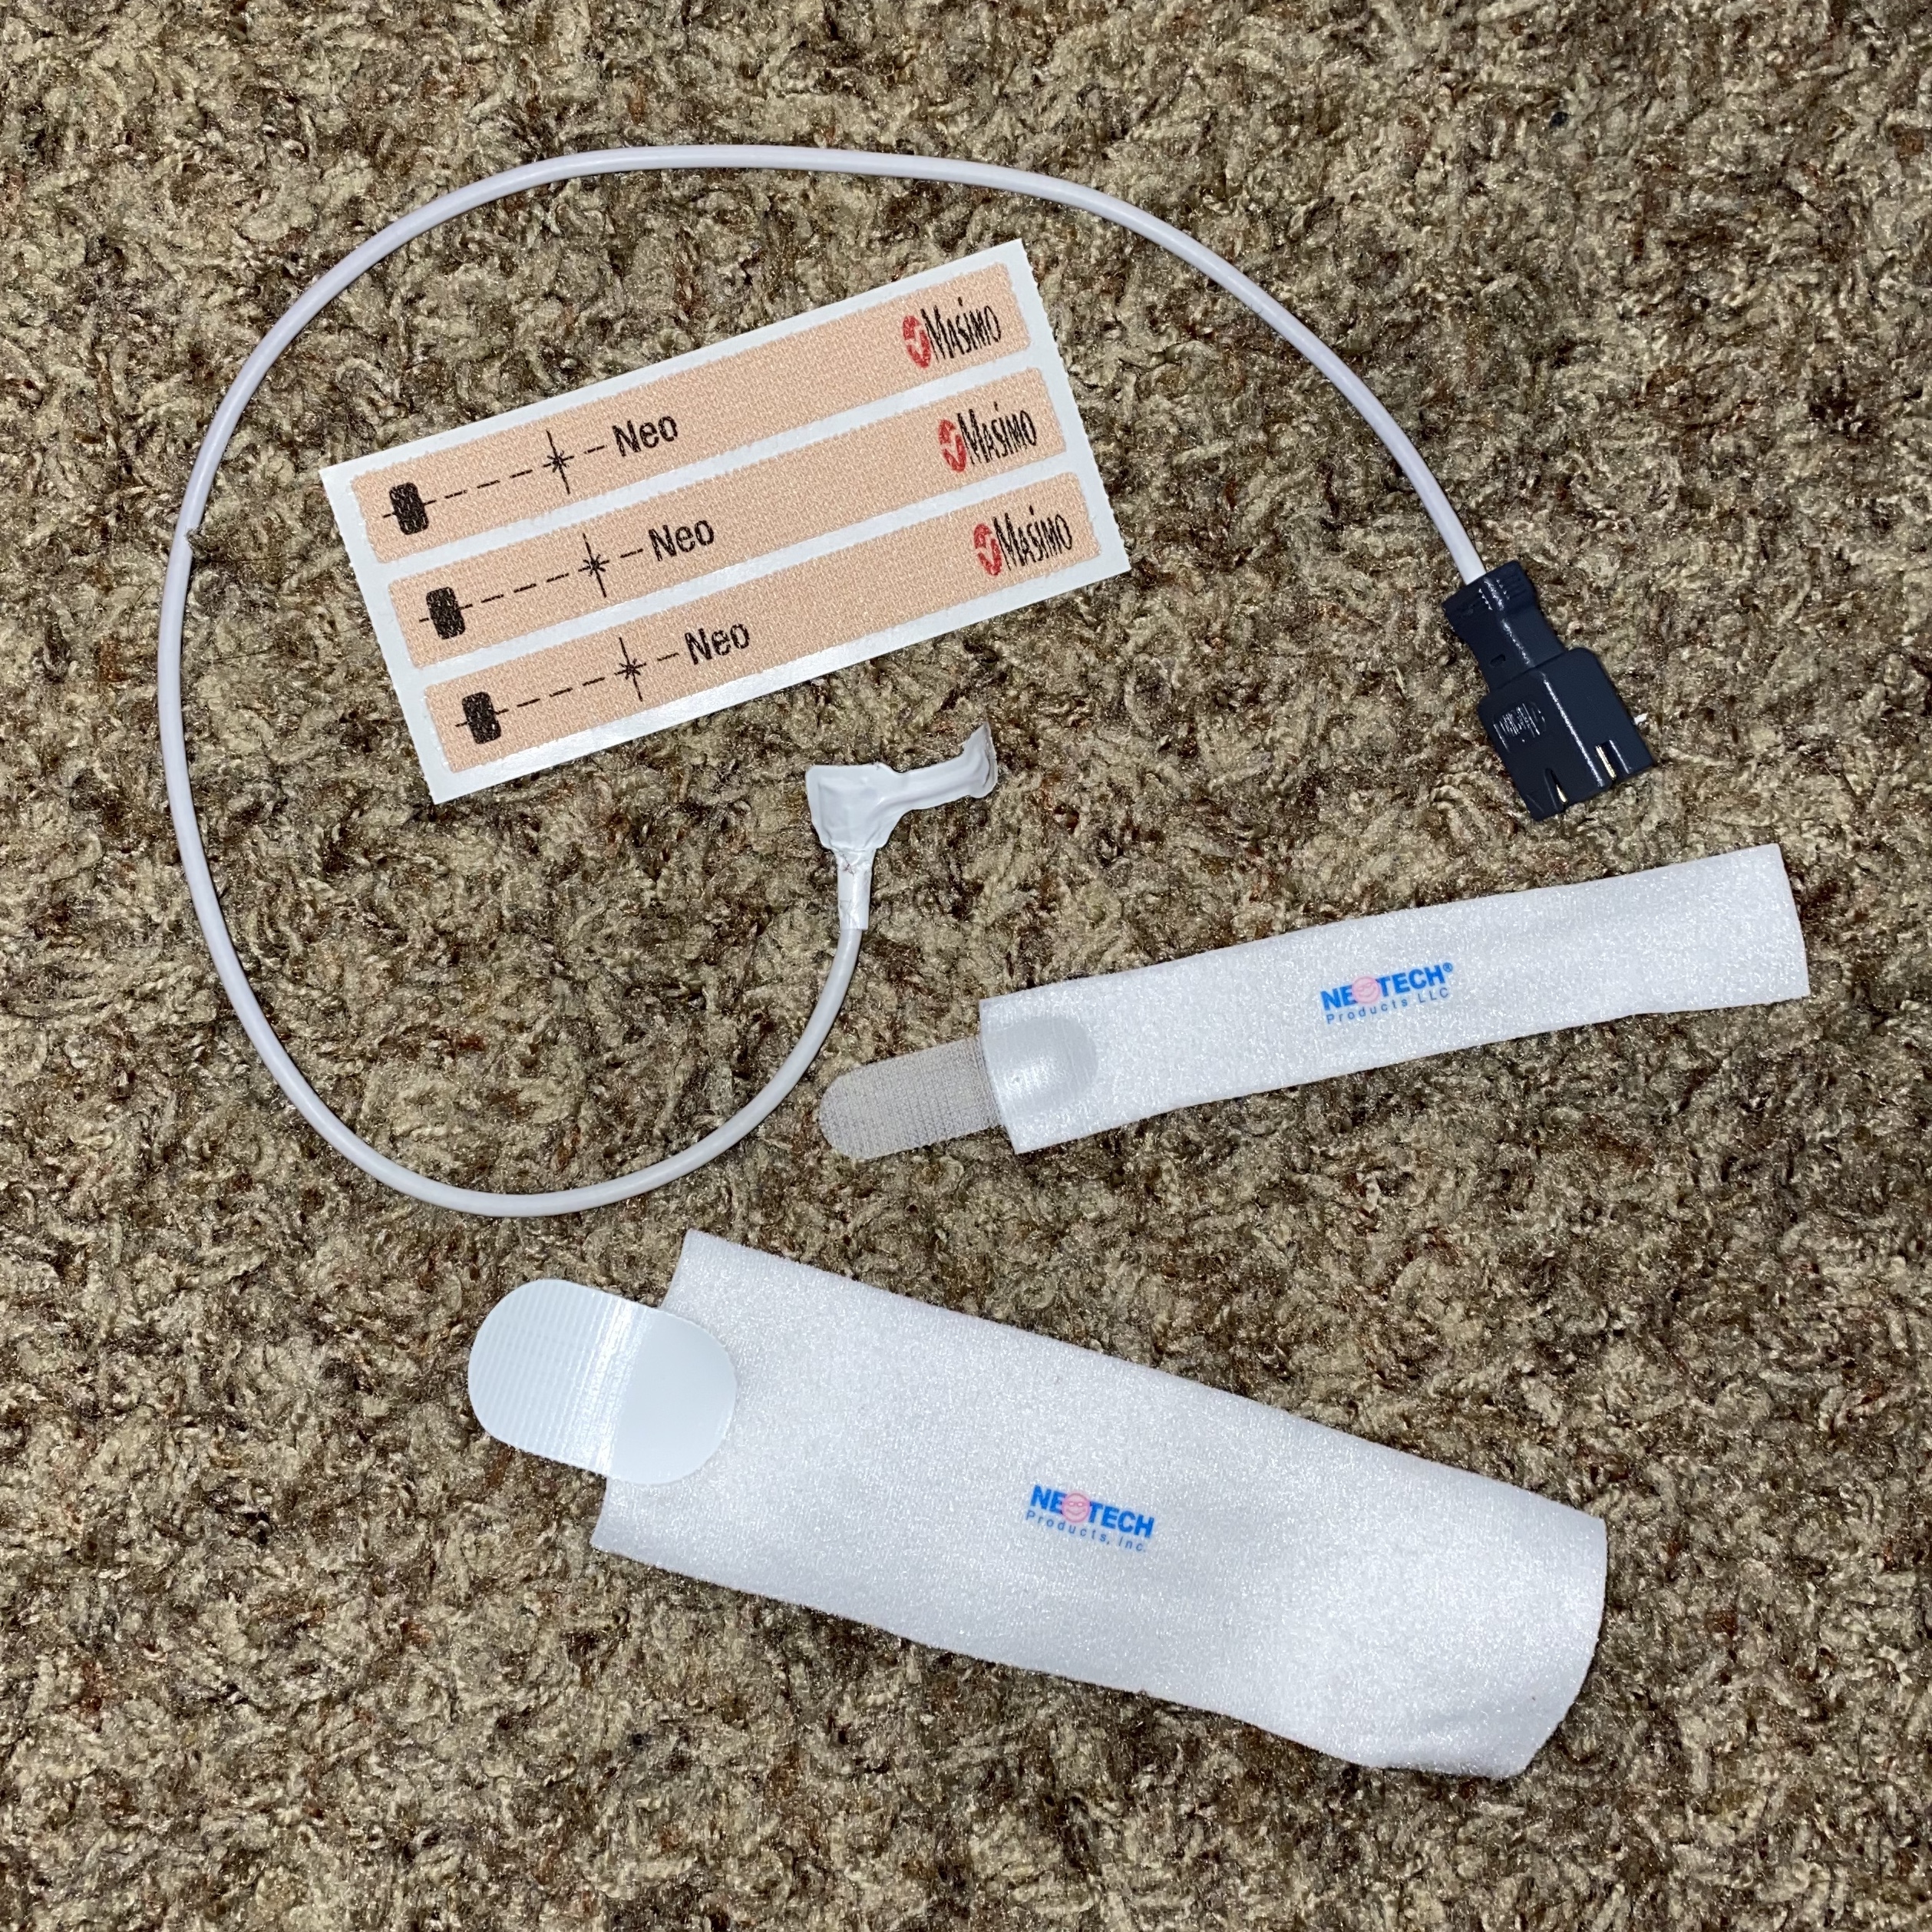
No matter what you’re using, if the tape isn’t sticky enough to hold the sensor on, it’s not going to work very well. So make sure your tape is sticky.
2. Check the Sensor Contacts
The sensor contacts (where the sensor sits on the skin) are meant to be sticky too.
Masimo used to provide small replacement sticky circles that worked amazing to get the sensor to stay, but they’ve recently stopped including them. I haven’t been able to get an answer as to why, they really were amazing in terms of extending the life of the sensor!
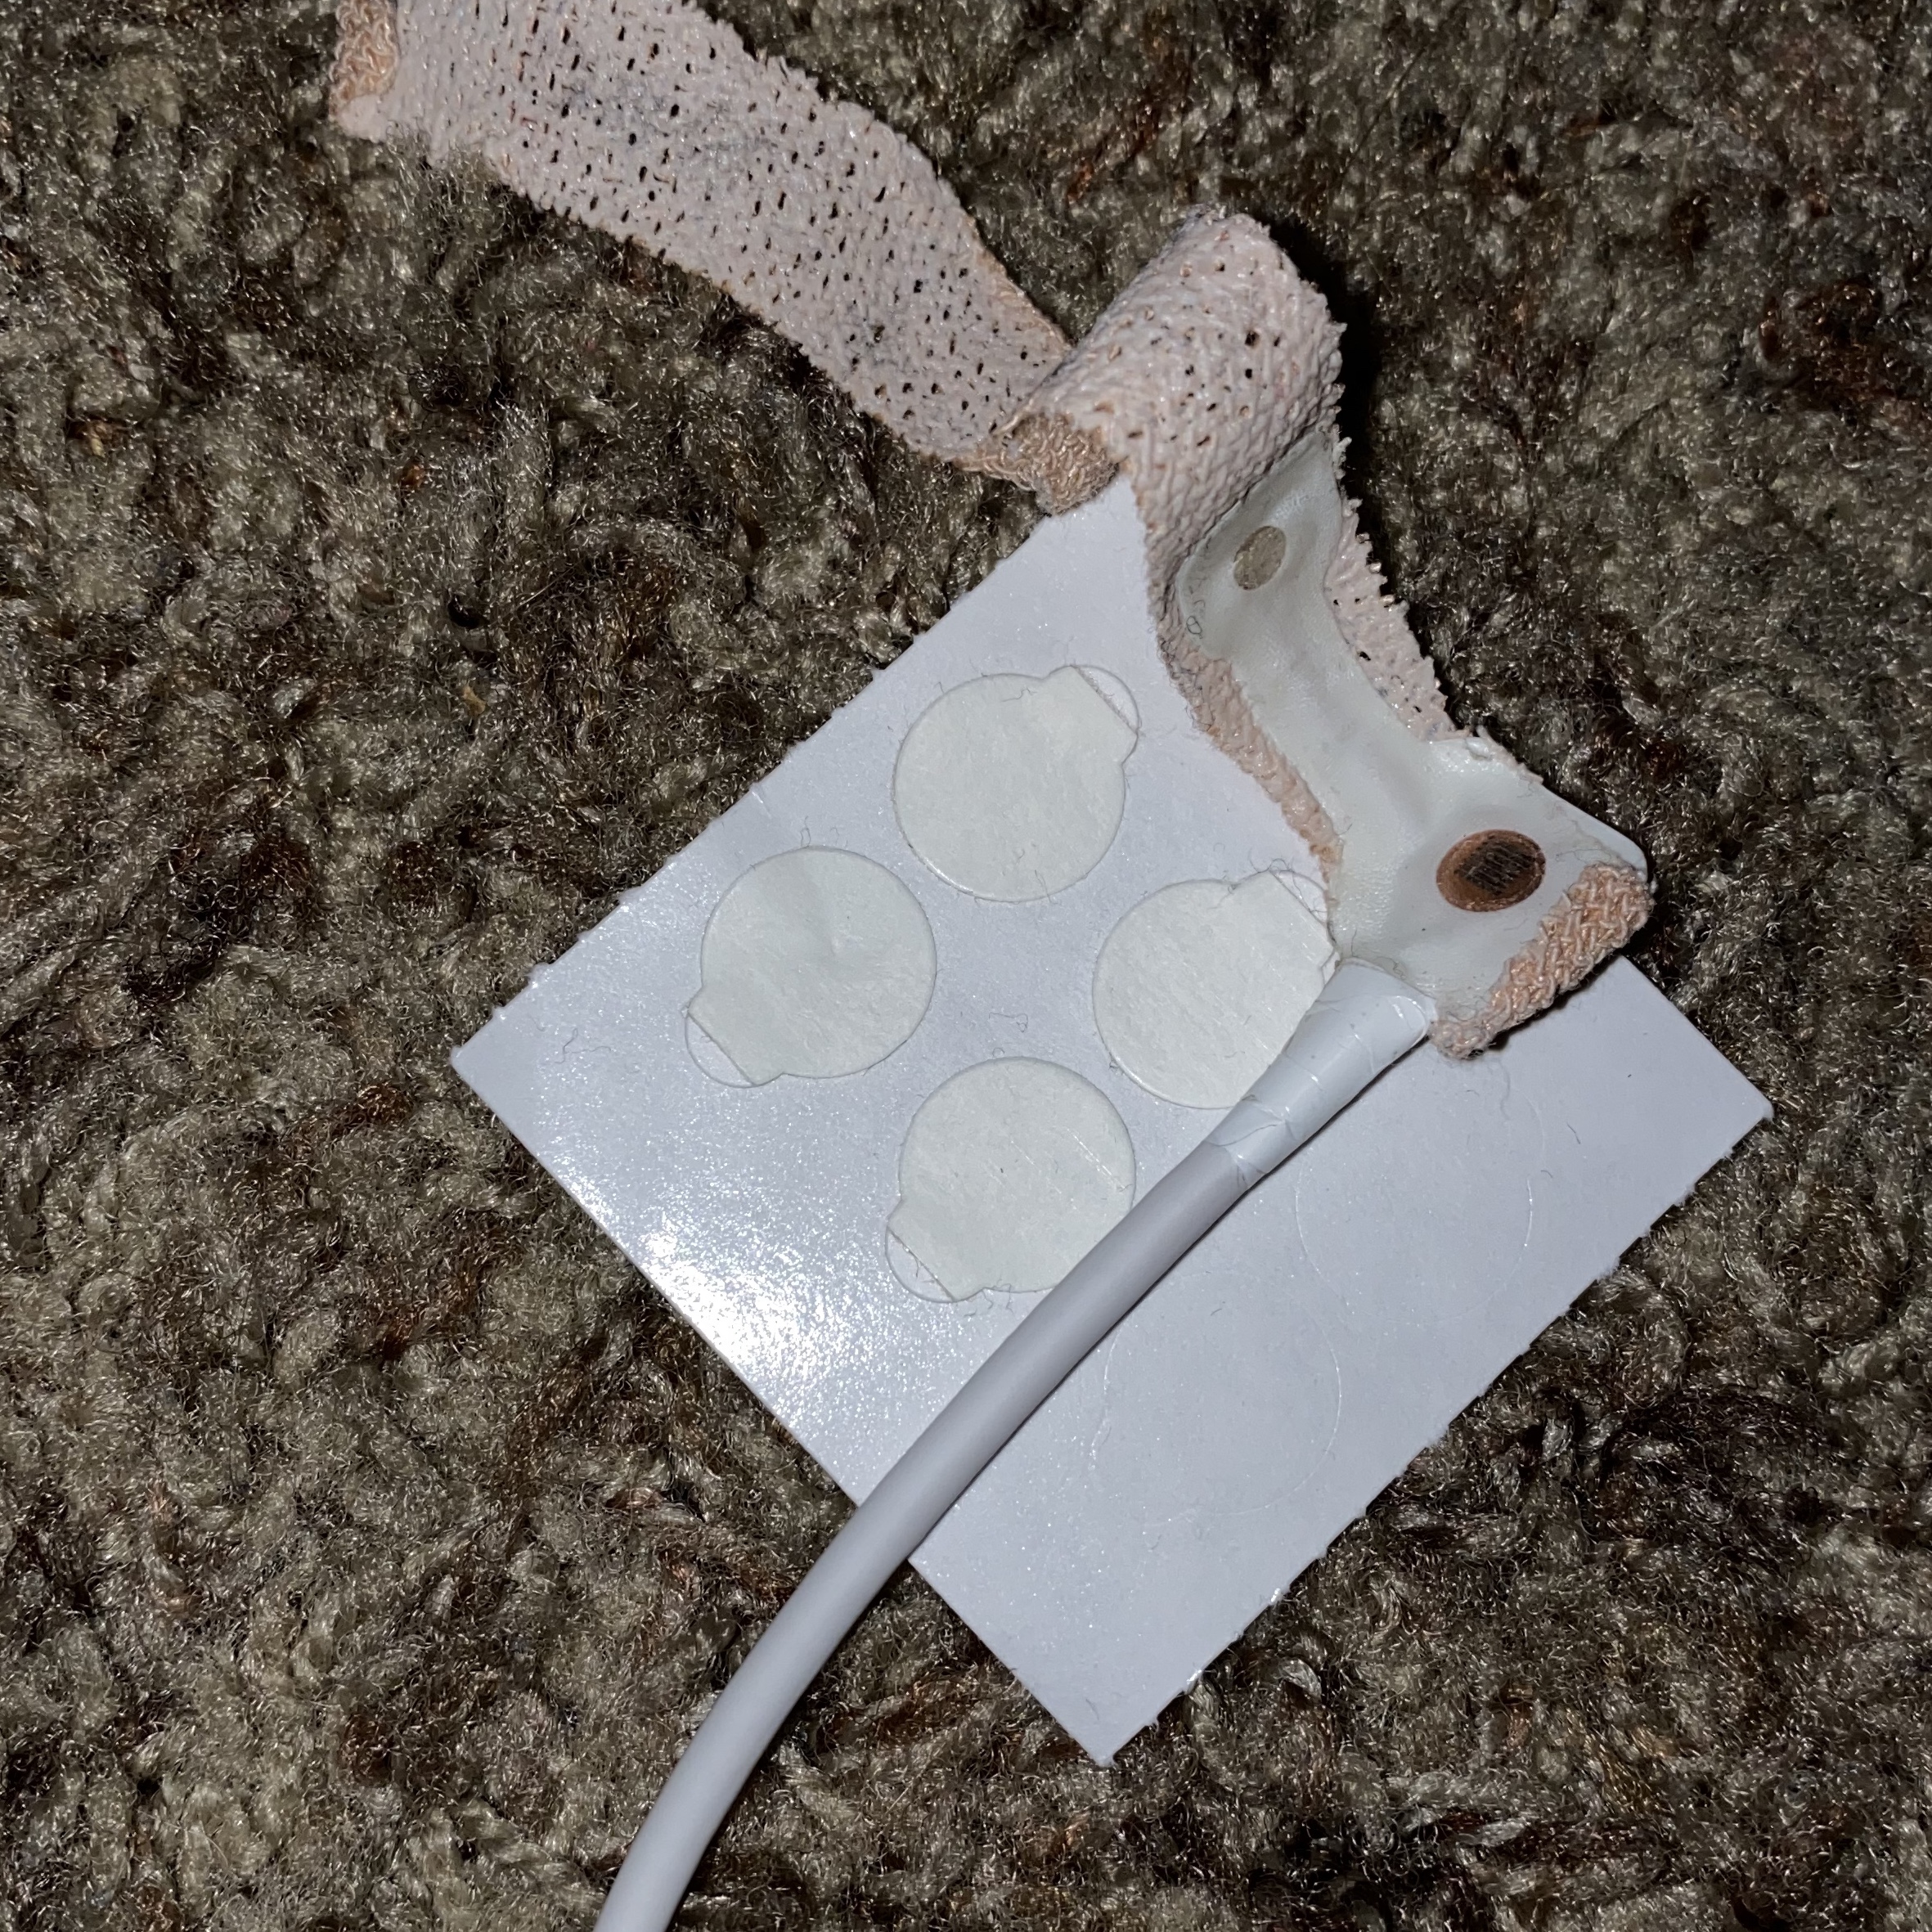
Even without those, simply keeping the sensor clean and free of dirt and hair etc makes a big difference. Usually simply cleaning it with your fingers to remove major debris is enough. Sometimes we use alcohol swabs, but have also used water and even hand sanitizer in a pinch as well. Just make sure the sensor is dry before you place it back on the skin.
3. Align the Sensor Contacts & Position the Light
The pulse oximeter works using a laser sensor. The laser light needs to point to the receiver on the opposite end of the sensor.
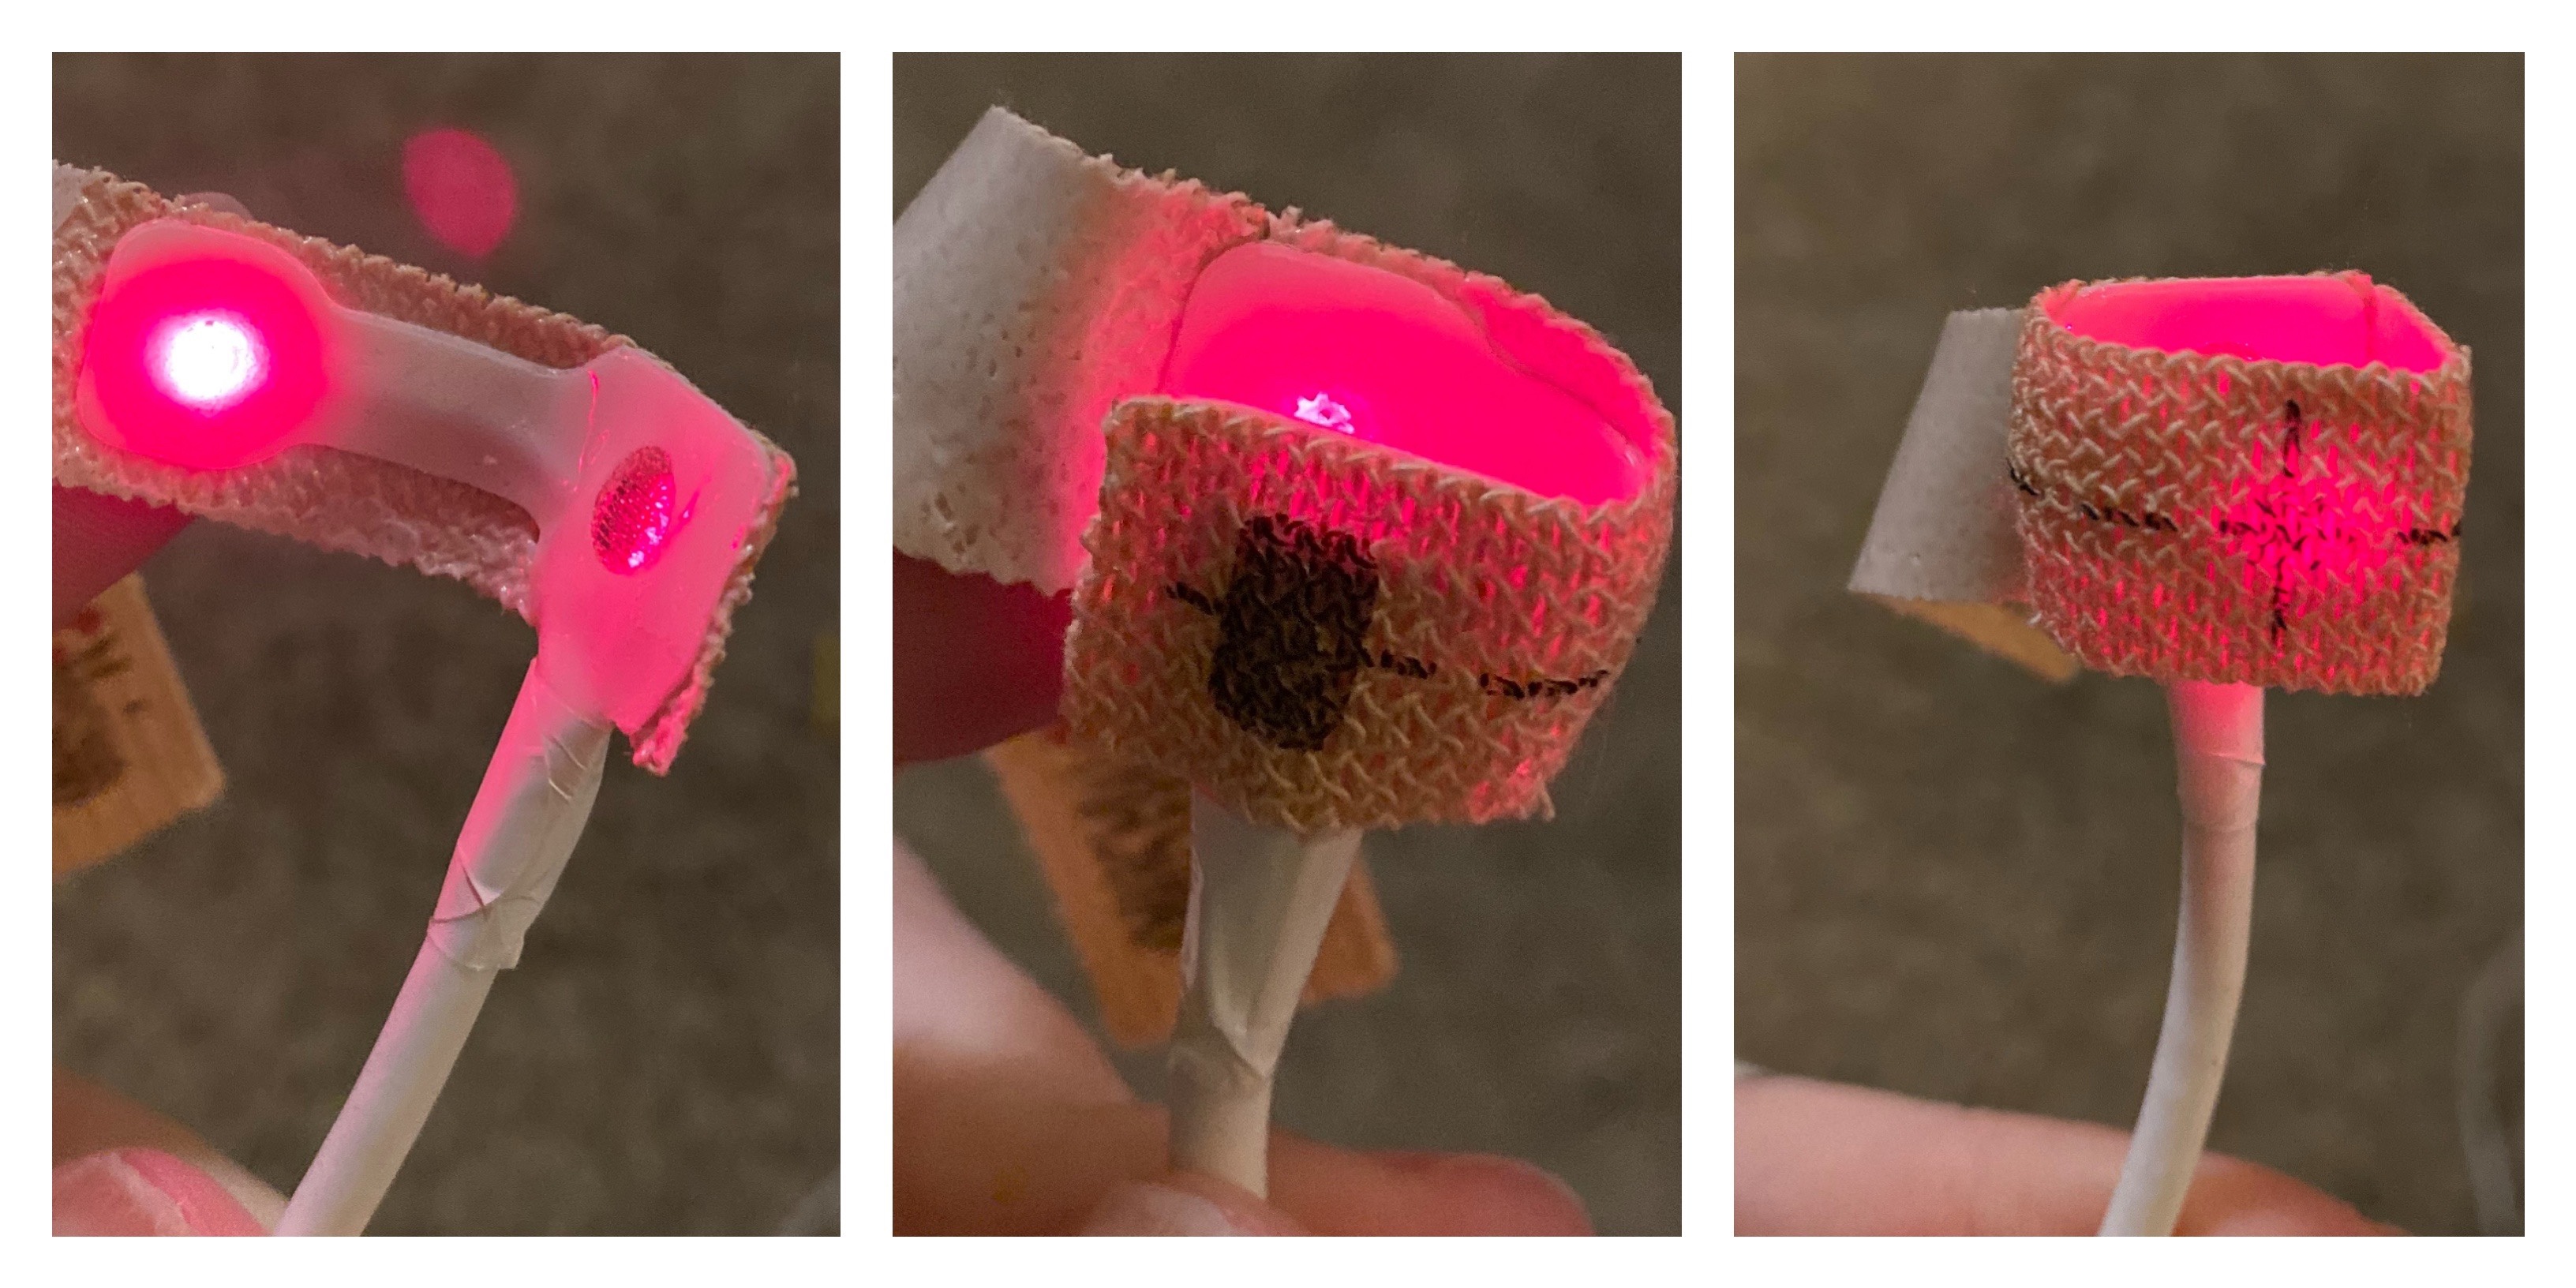
We have had the best luck when the light is on the fingernail or toenail. When the sensor is off I used to struggle to remember which side the light was on. The tapes have an indicator though — the light side has a “star” or “light” shape on it, while the receiver side has a black square.
4. Find a Placement That Works
For the longest time The only place we could get a good reading was across the arch of AJ’s foot. Now it’s his right big toe.
Here’s the places we’ve had good luck with :
- Around the arch of the foot – with the cord always going back toward the heel.
- Around the big toe – with the cord always going back toward the heel.
- Around the second toe – with the cord always going back toward the heel.
- Around the palm of the hand between the thumb and first finger – with the cord always going back toward the wrist.
- Around the palm of the hand with the sensor below the pinky finger – with the cord always going back toward the wrist.
- Around the thumb – with the cord always going back toward the wrist.
- Around the first, middle or ring finger – with the cord always going back toward the wrist.
Some people have even had luck using their kid’s earlobe!
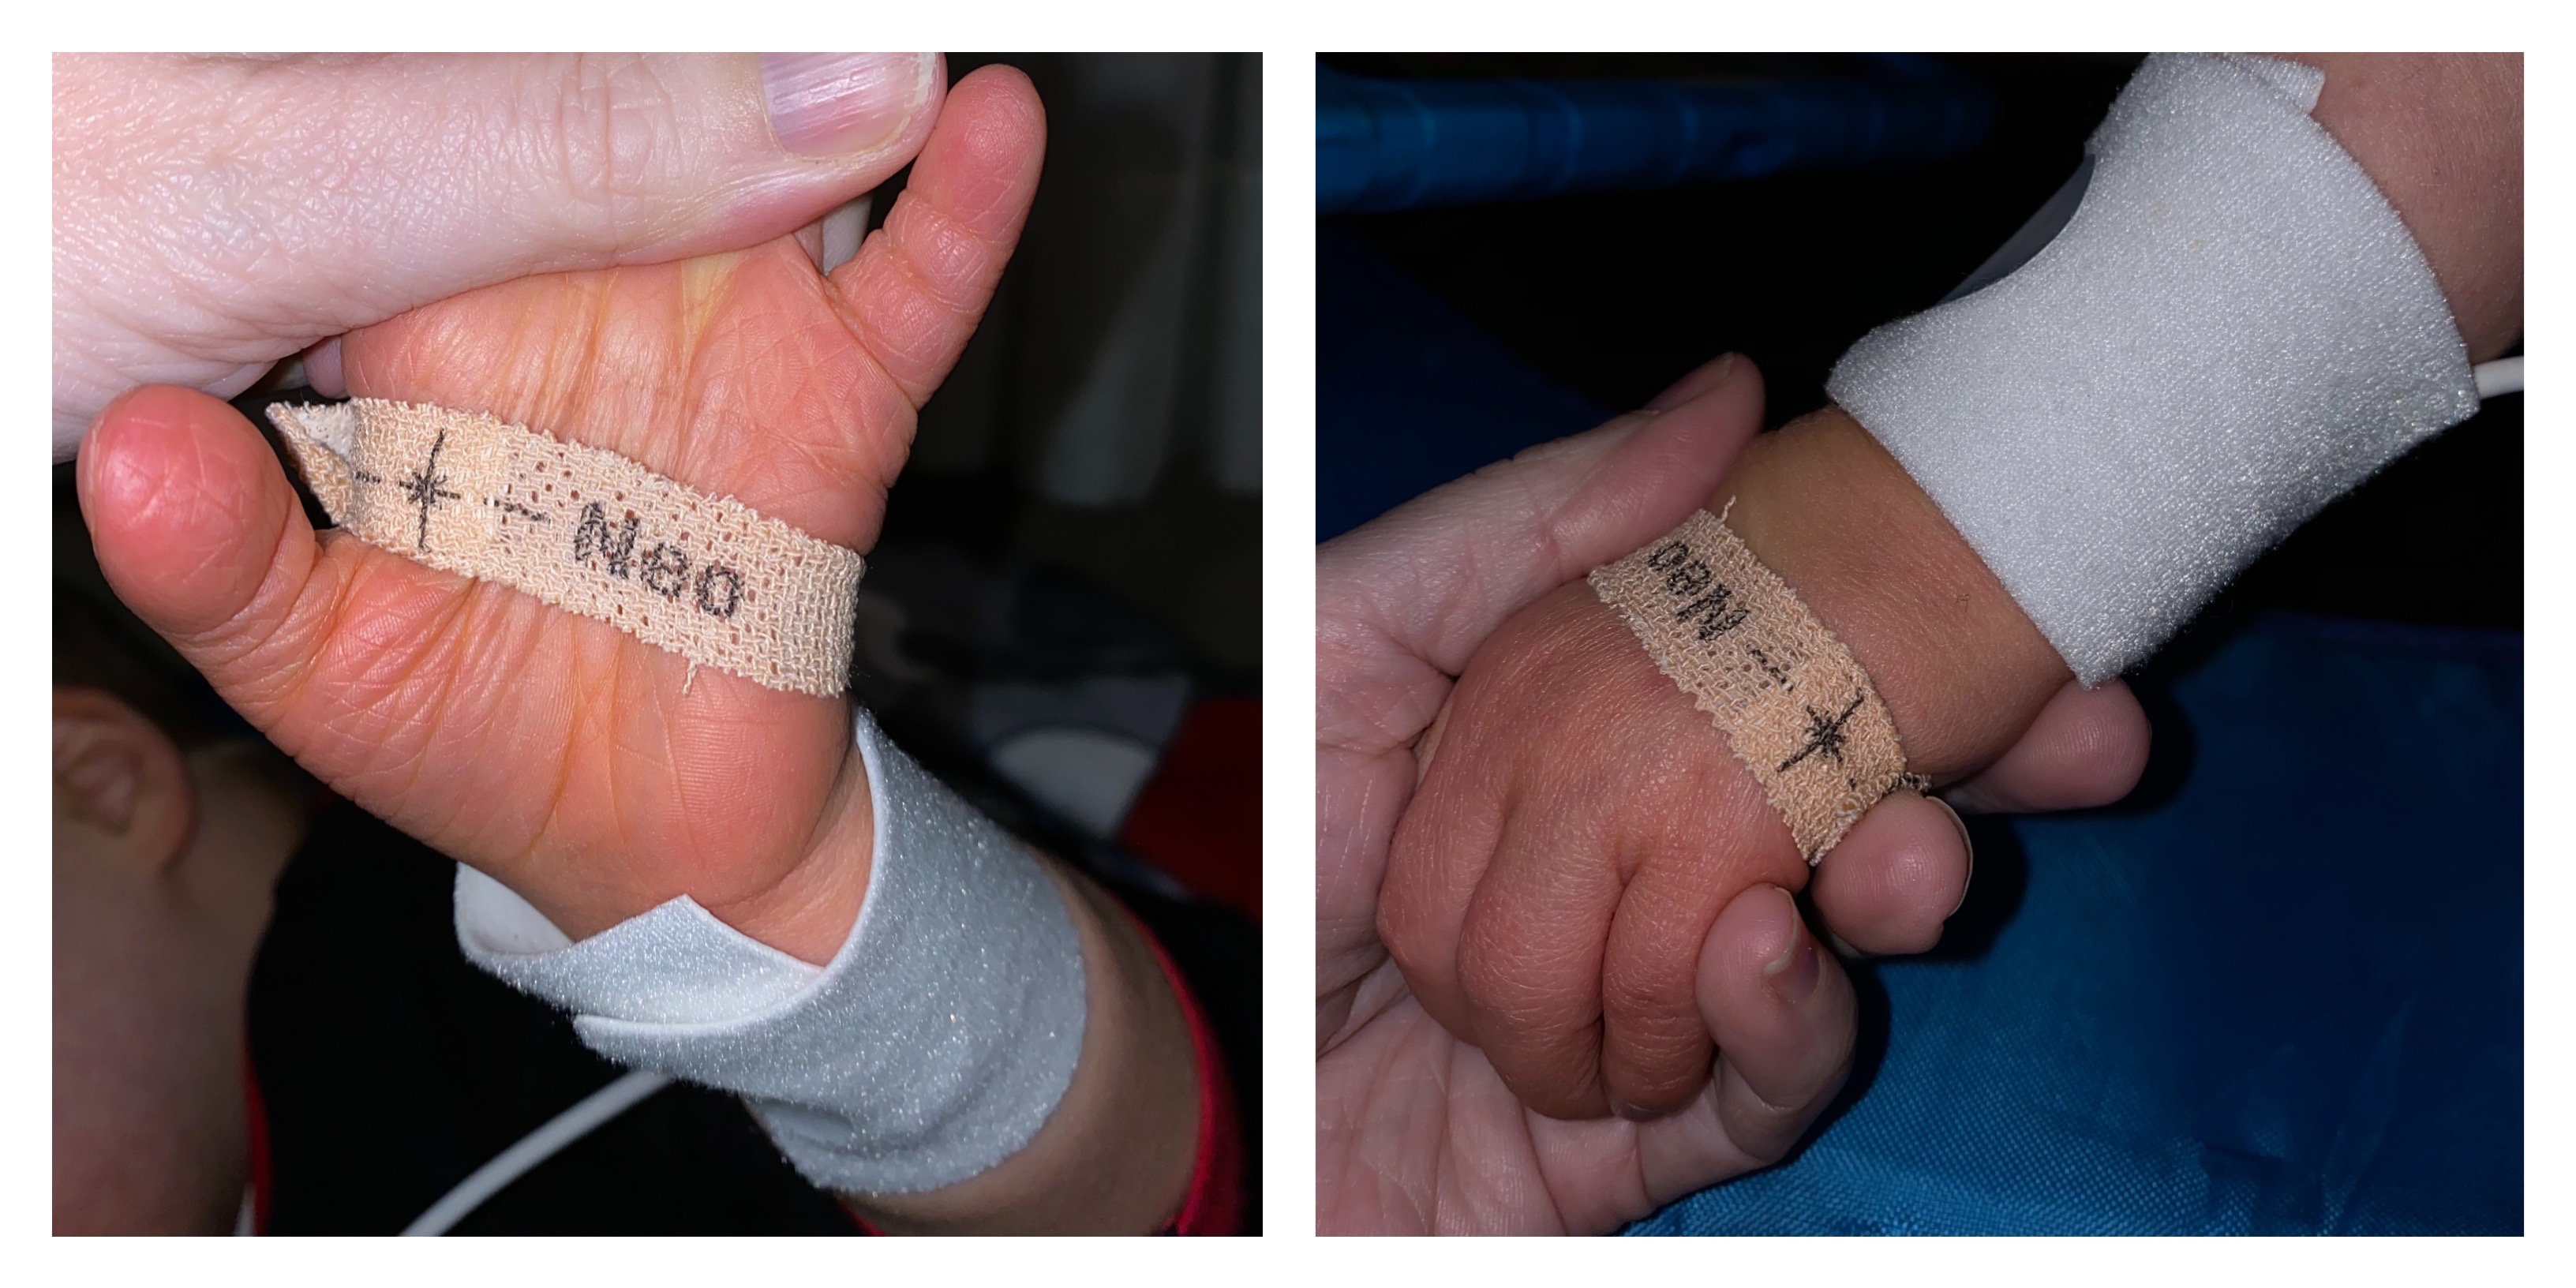
Keep in mind that as your kid grows, some places may no longer work. We weren’t even able to demonstrate all placements — in part because it was interfering with his iPad time, but also because he’s grown so much it doesn’t fit anymore!
5. Stabilize the Sensor
We love these pulse oximeter wraps from neotech. You can order from their site or your DME, and you can even order free samples from the link above.
When you order samples, you can get three items in your request. We order two of the wraps – an XL and a L. And then also treat ourselves to something else from the site – usually a nose sucker or a package of cell phone wipes (its the little things that make this medical mama happy!)
These are designed to use over the sensor itself, but we use them to support the sensor instead. Note that if your kiddo is prone to pressure sores, you may want to put something between the skin and cords (like gauze), or use two wraps – one against the skin, then the cord, then one over it. Entirely up to you and tolerance will vary person to person.
Also – make sure you aren’t pulling these tight. They shouldn’t be cutting off circulation — but simply holding the cord loosely in place.
We keep the sensor itself on his big toe, then use the XL wrap around the arch of his foot (see below).
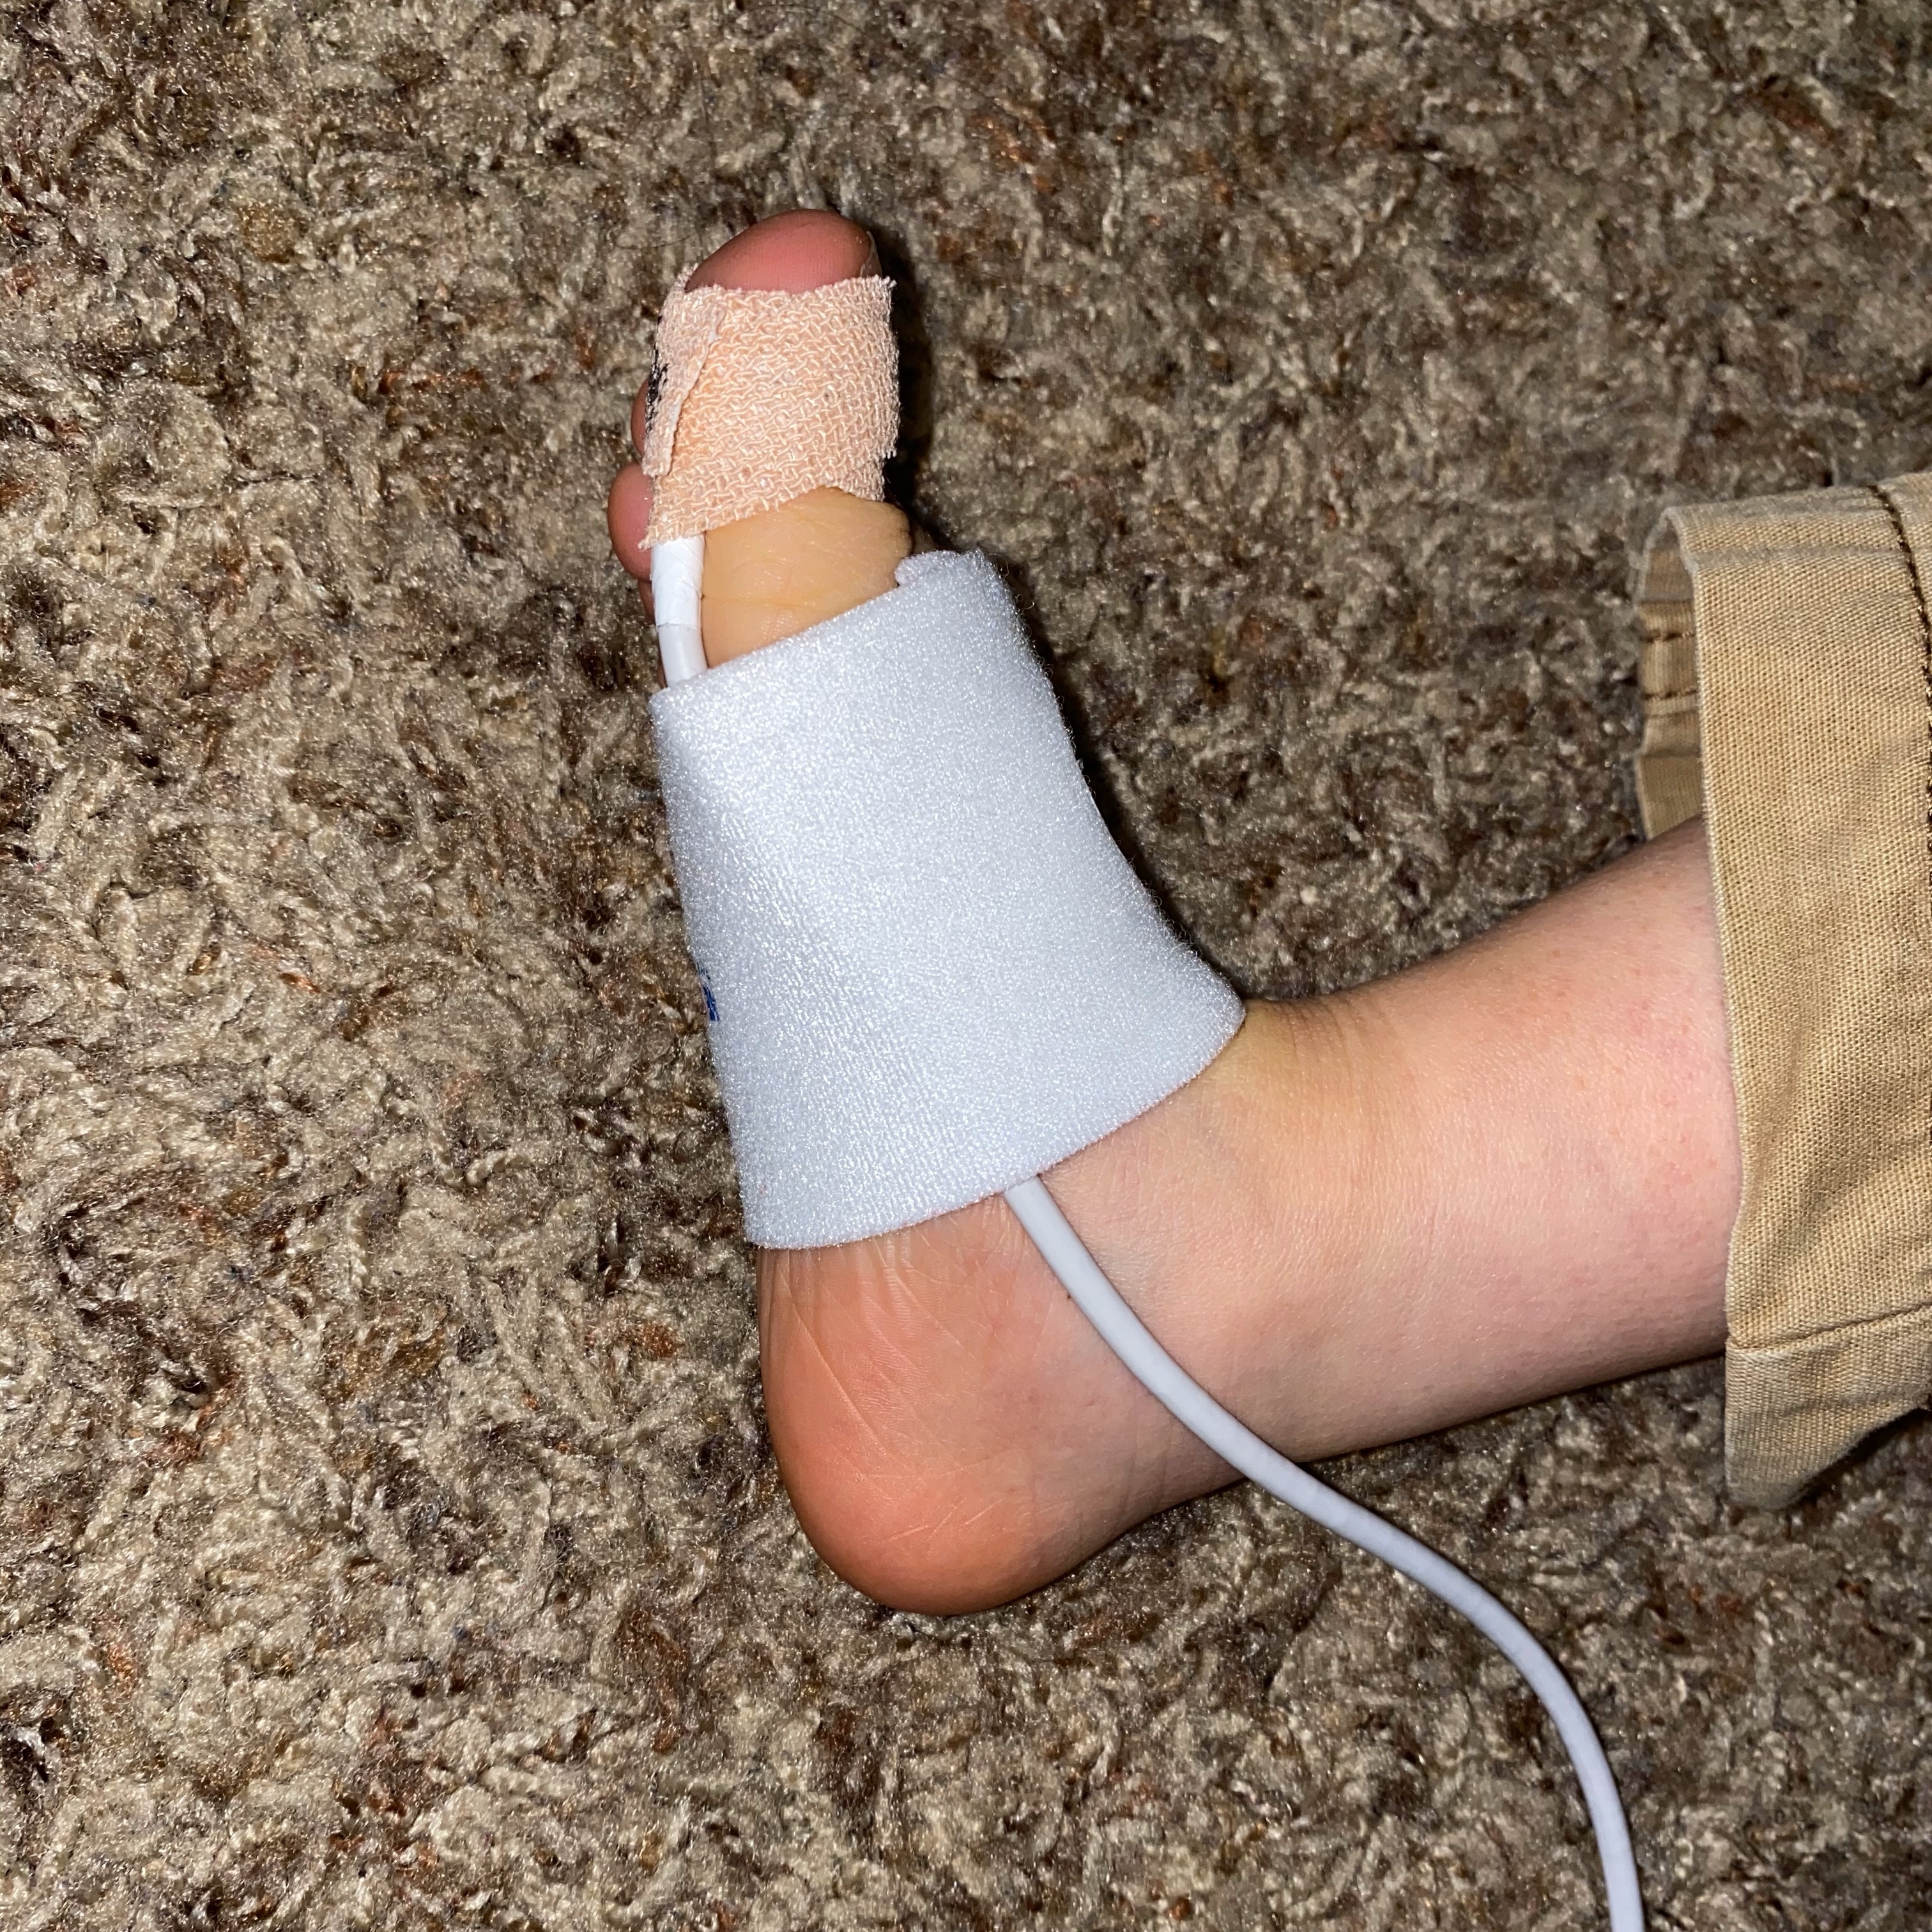
After that we put a sock on over it and use the large pulse ox wrap around his ankle.
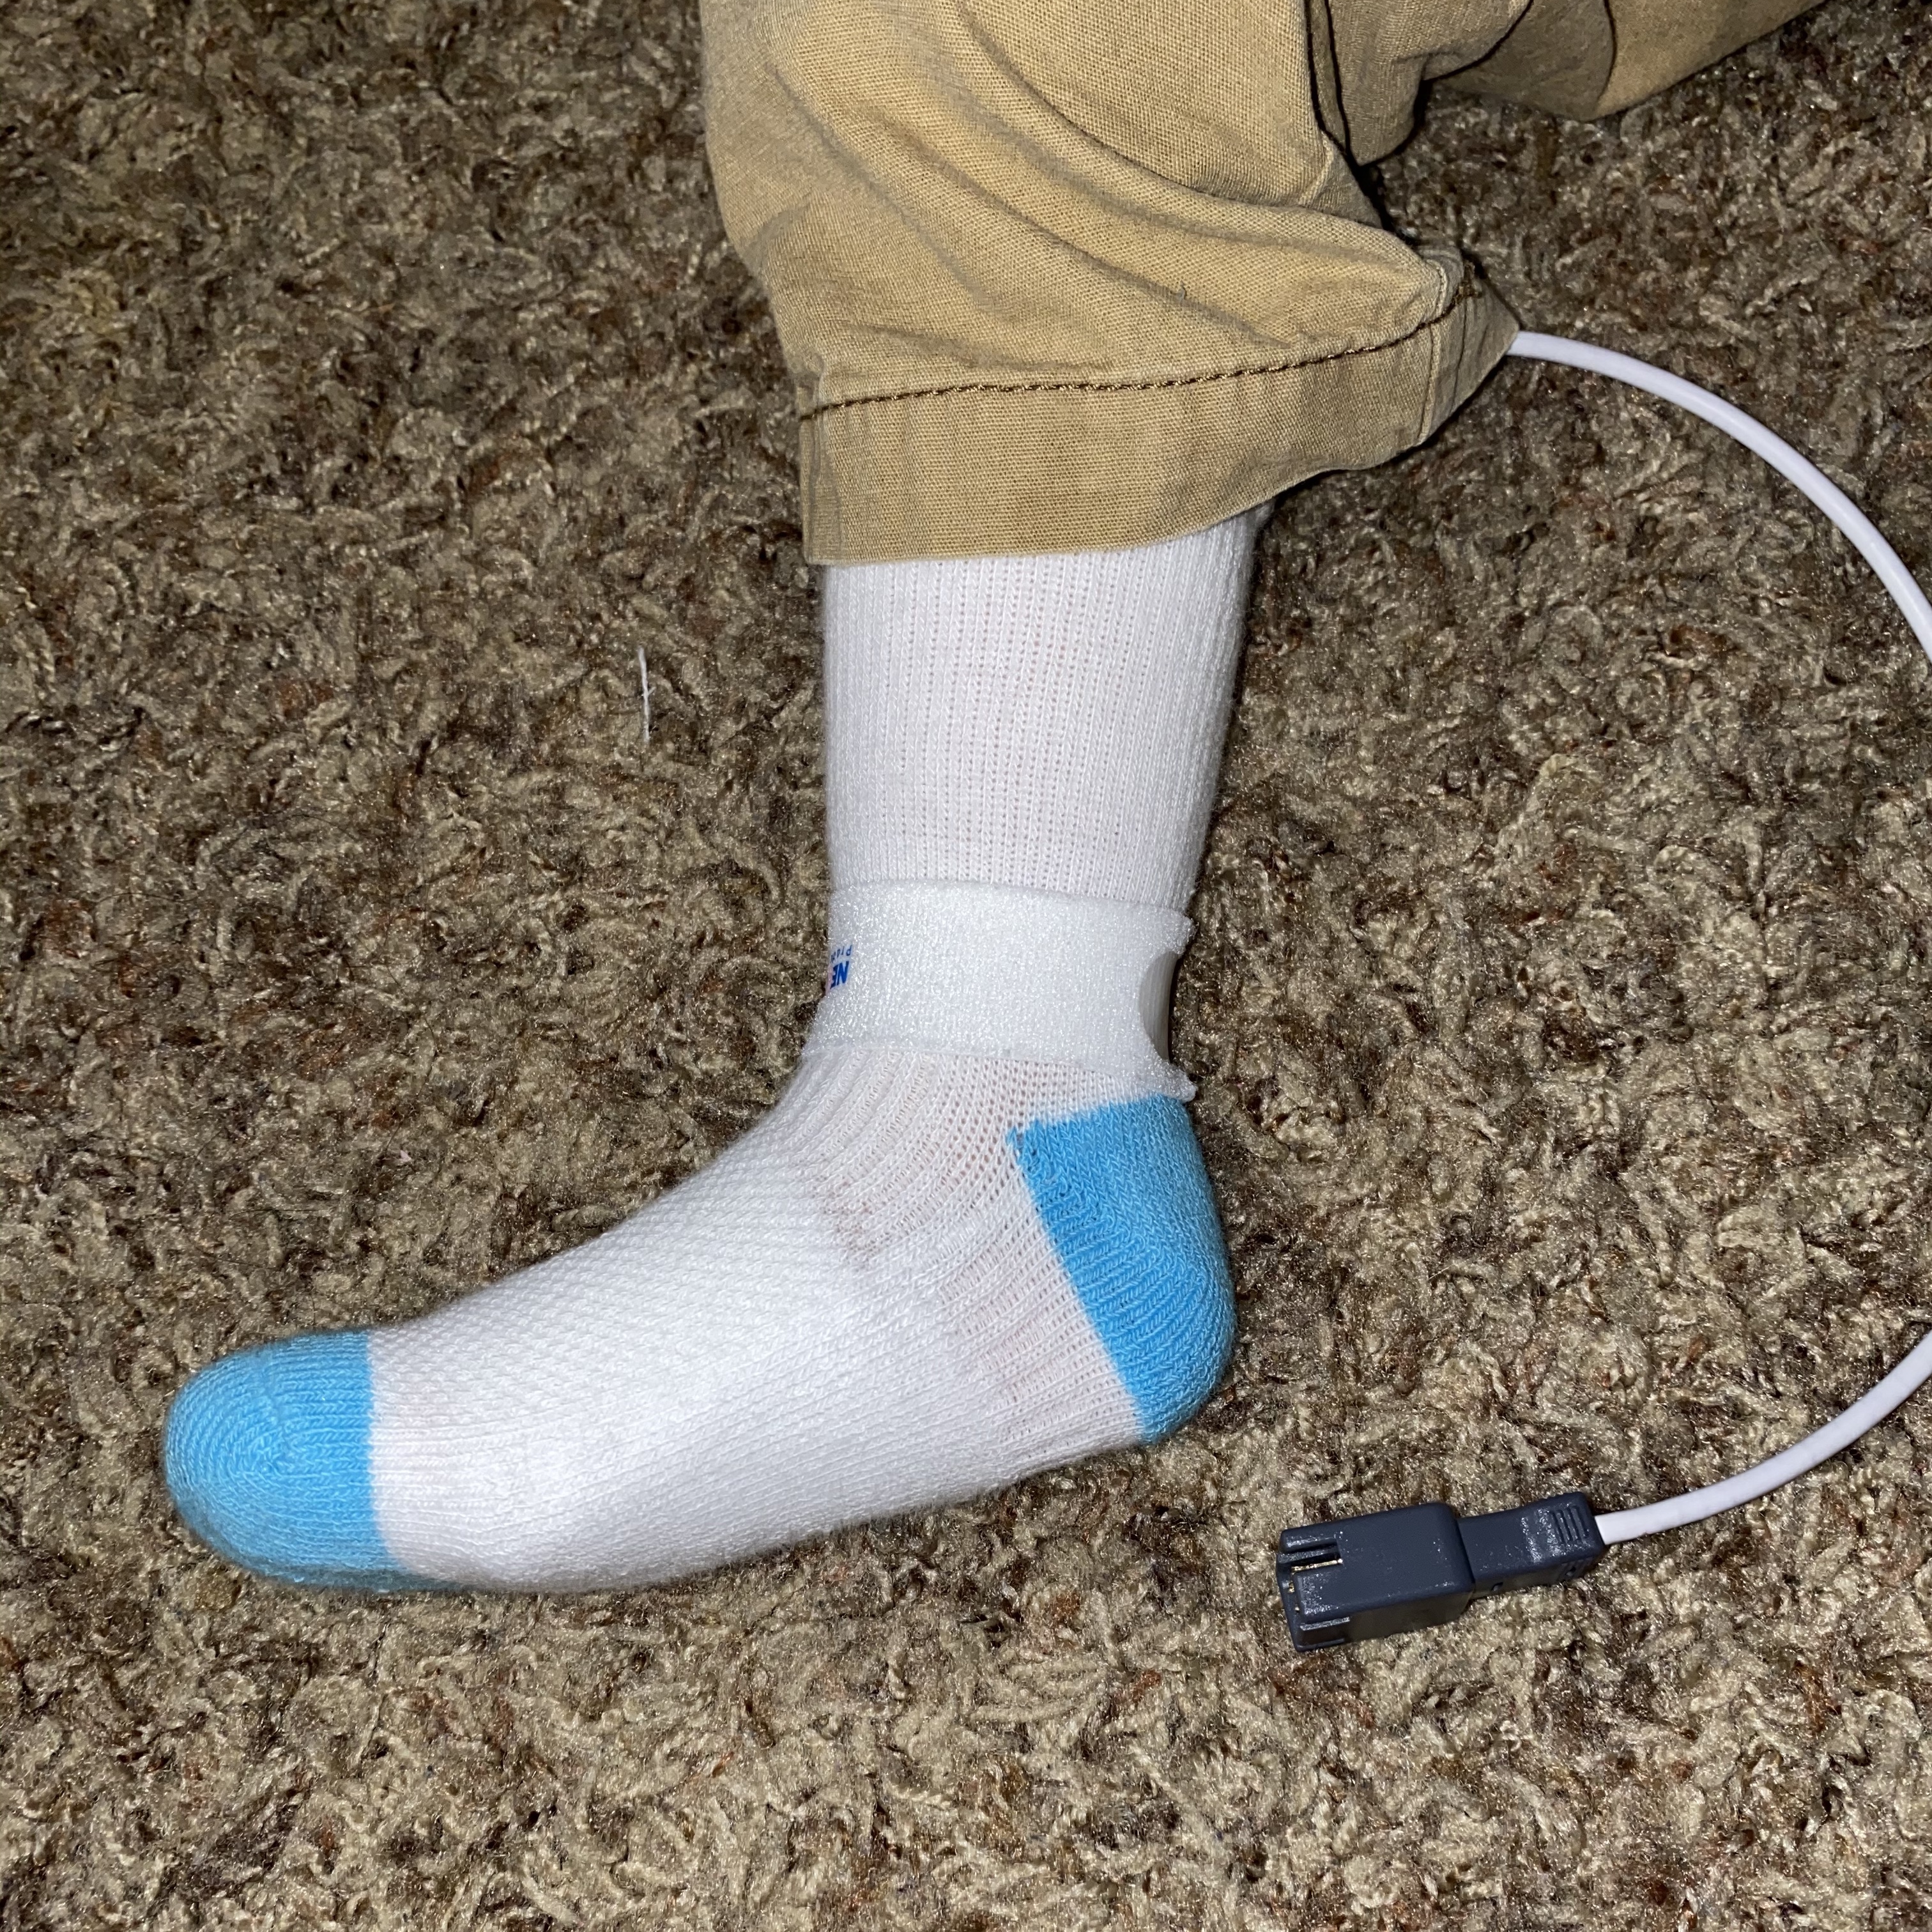
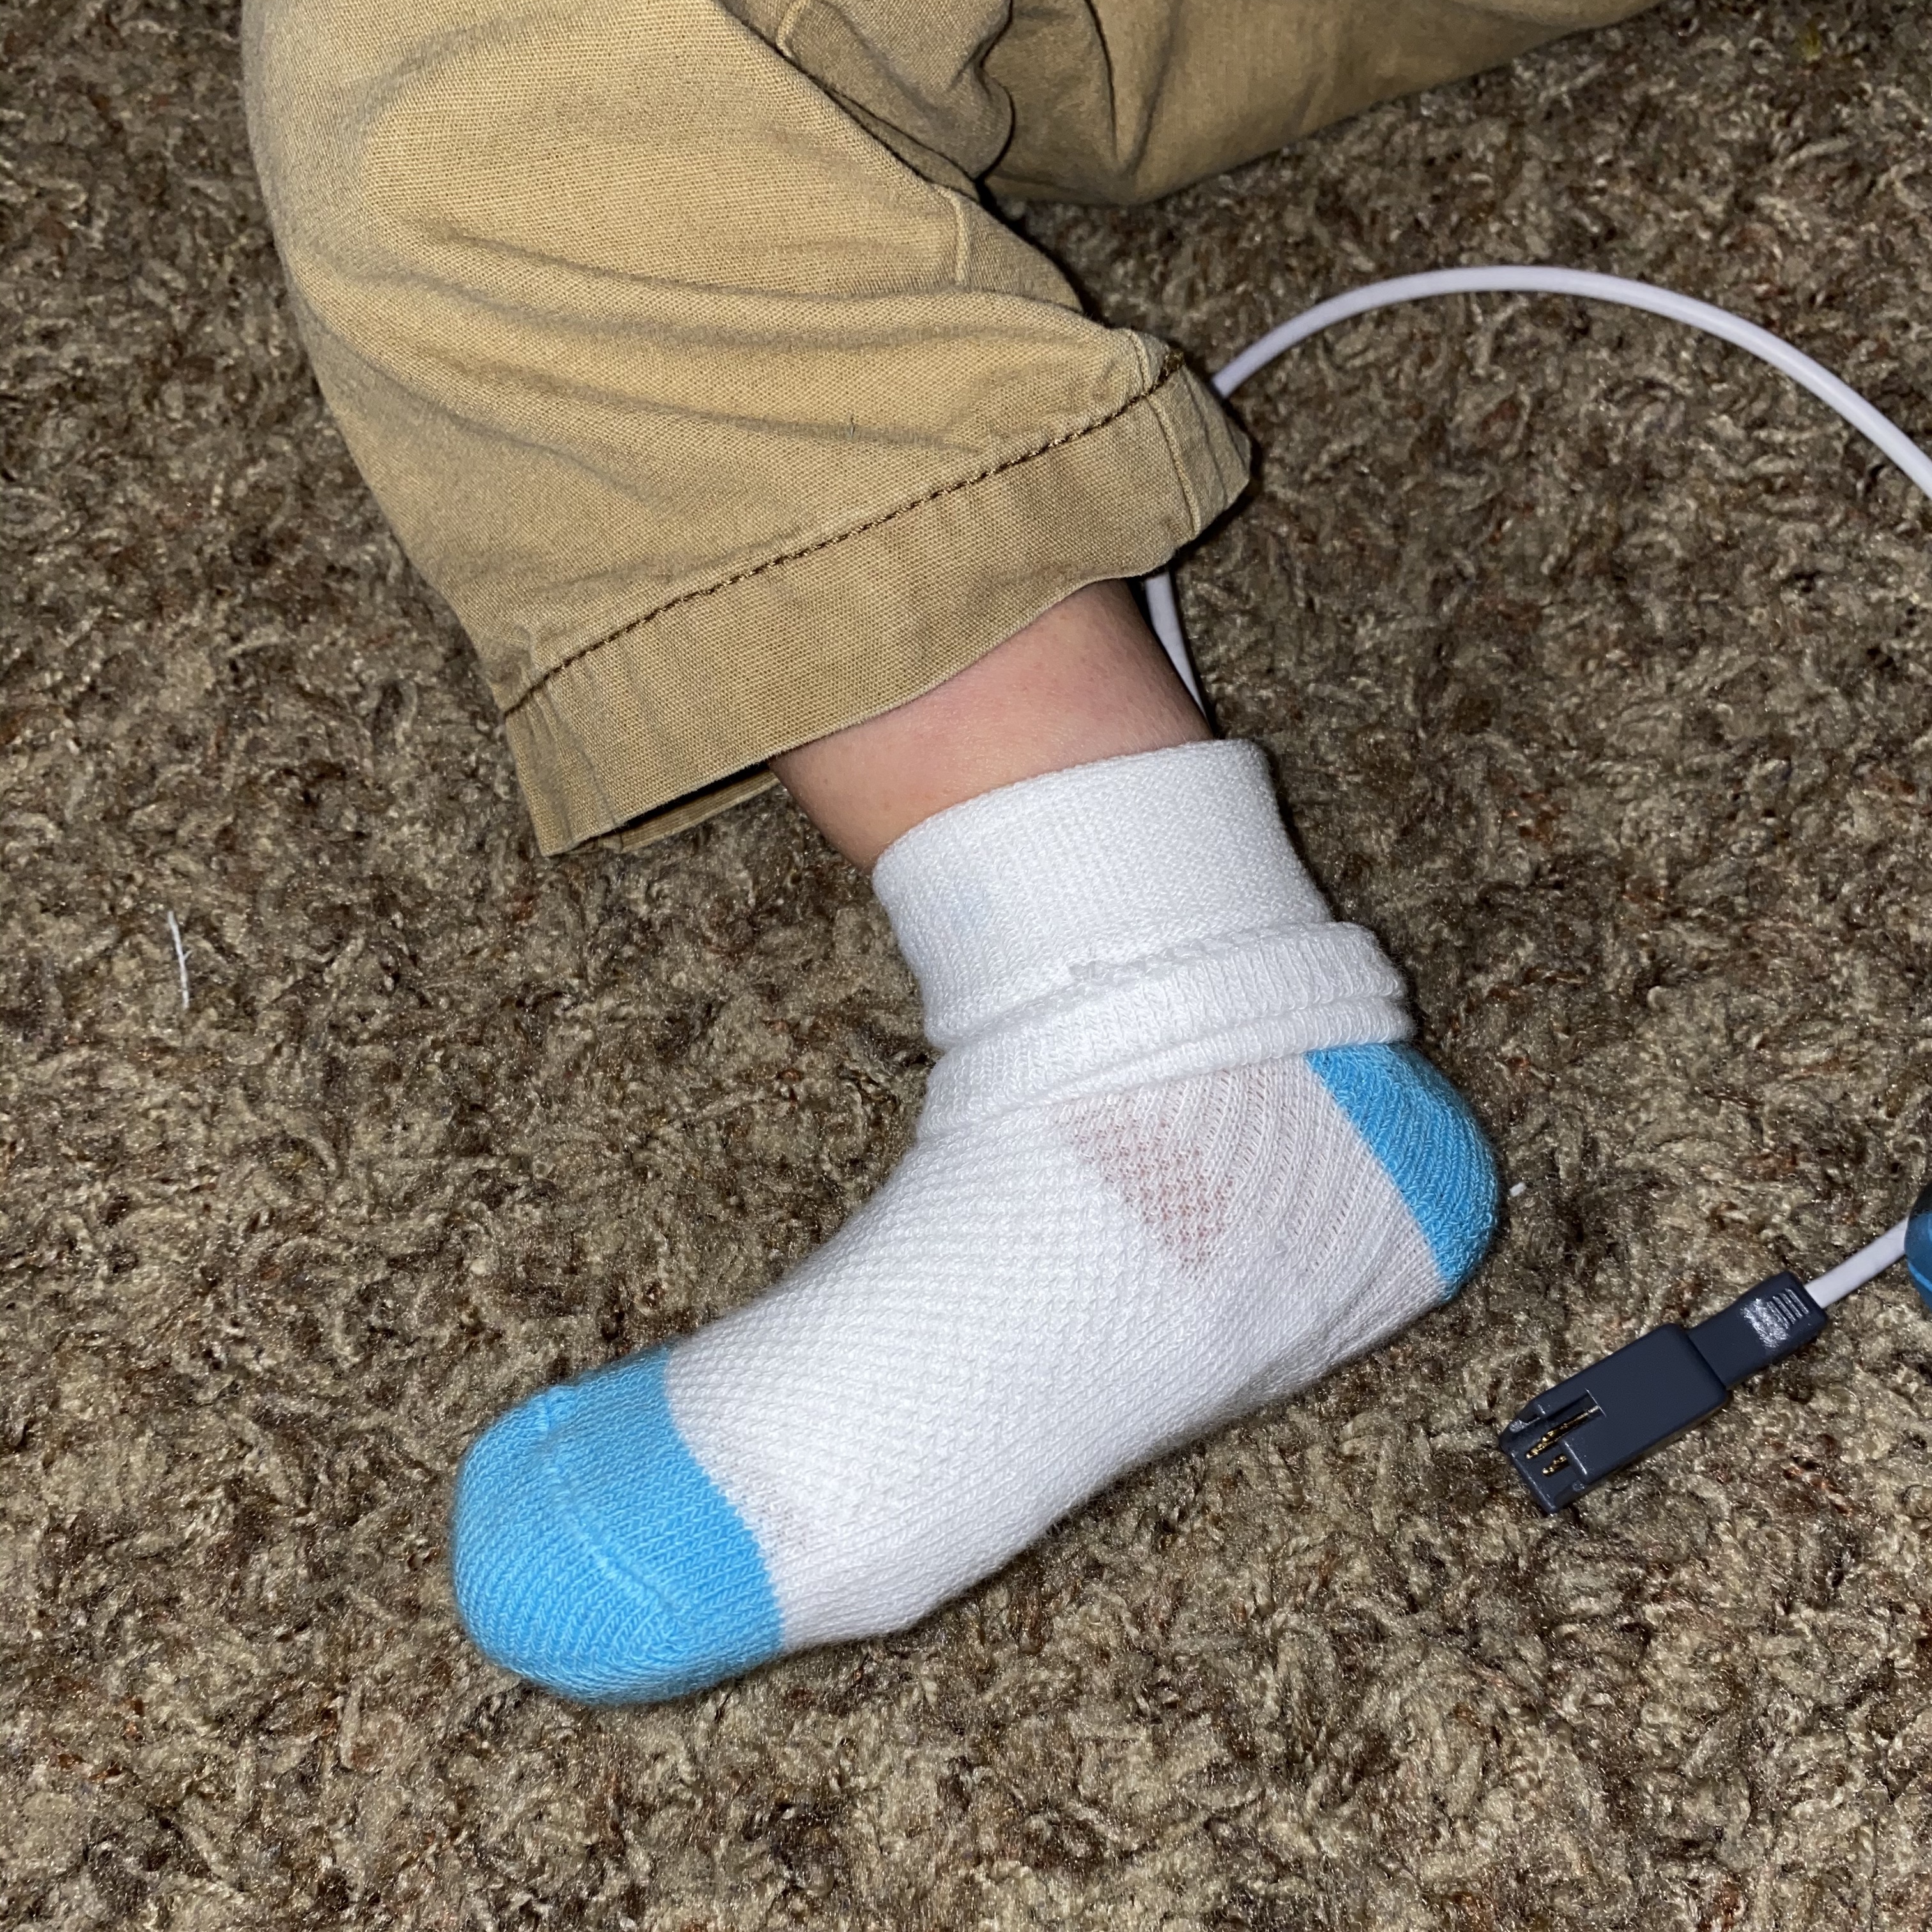
Then we roll his socks down. This stops him from being able to pull his sock off and get to the sensor, and helps keeps the connection points on the sensor wire stable so it lasts longer – and reads better. Sometimes we will also run the cord up through his pant legs and connect it inside of the waistband of his pants. He has largely learned to leave it alone so that’s not usually necessary anymore.
If you’re placing the pulse oximeter sensor on the hand or palm, you can use the large wrap across the palm to cover the sensor, and then the XL wrap (or another large wrap) on the wrist.
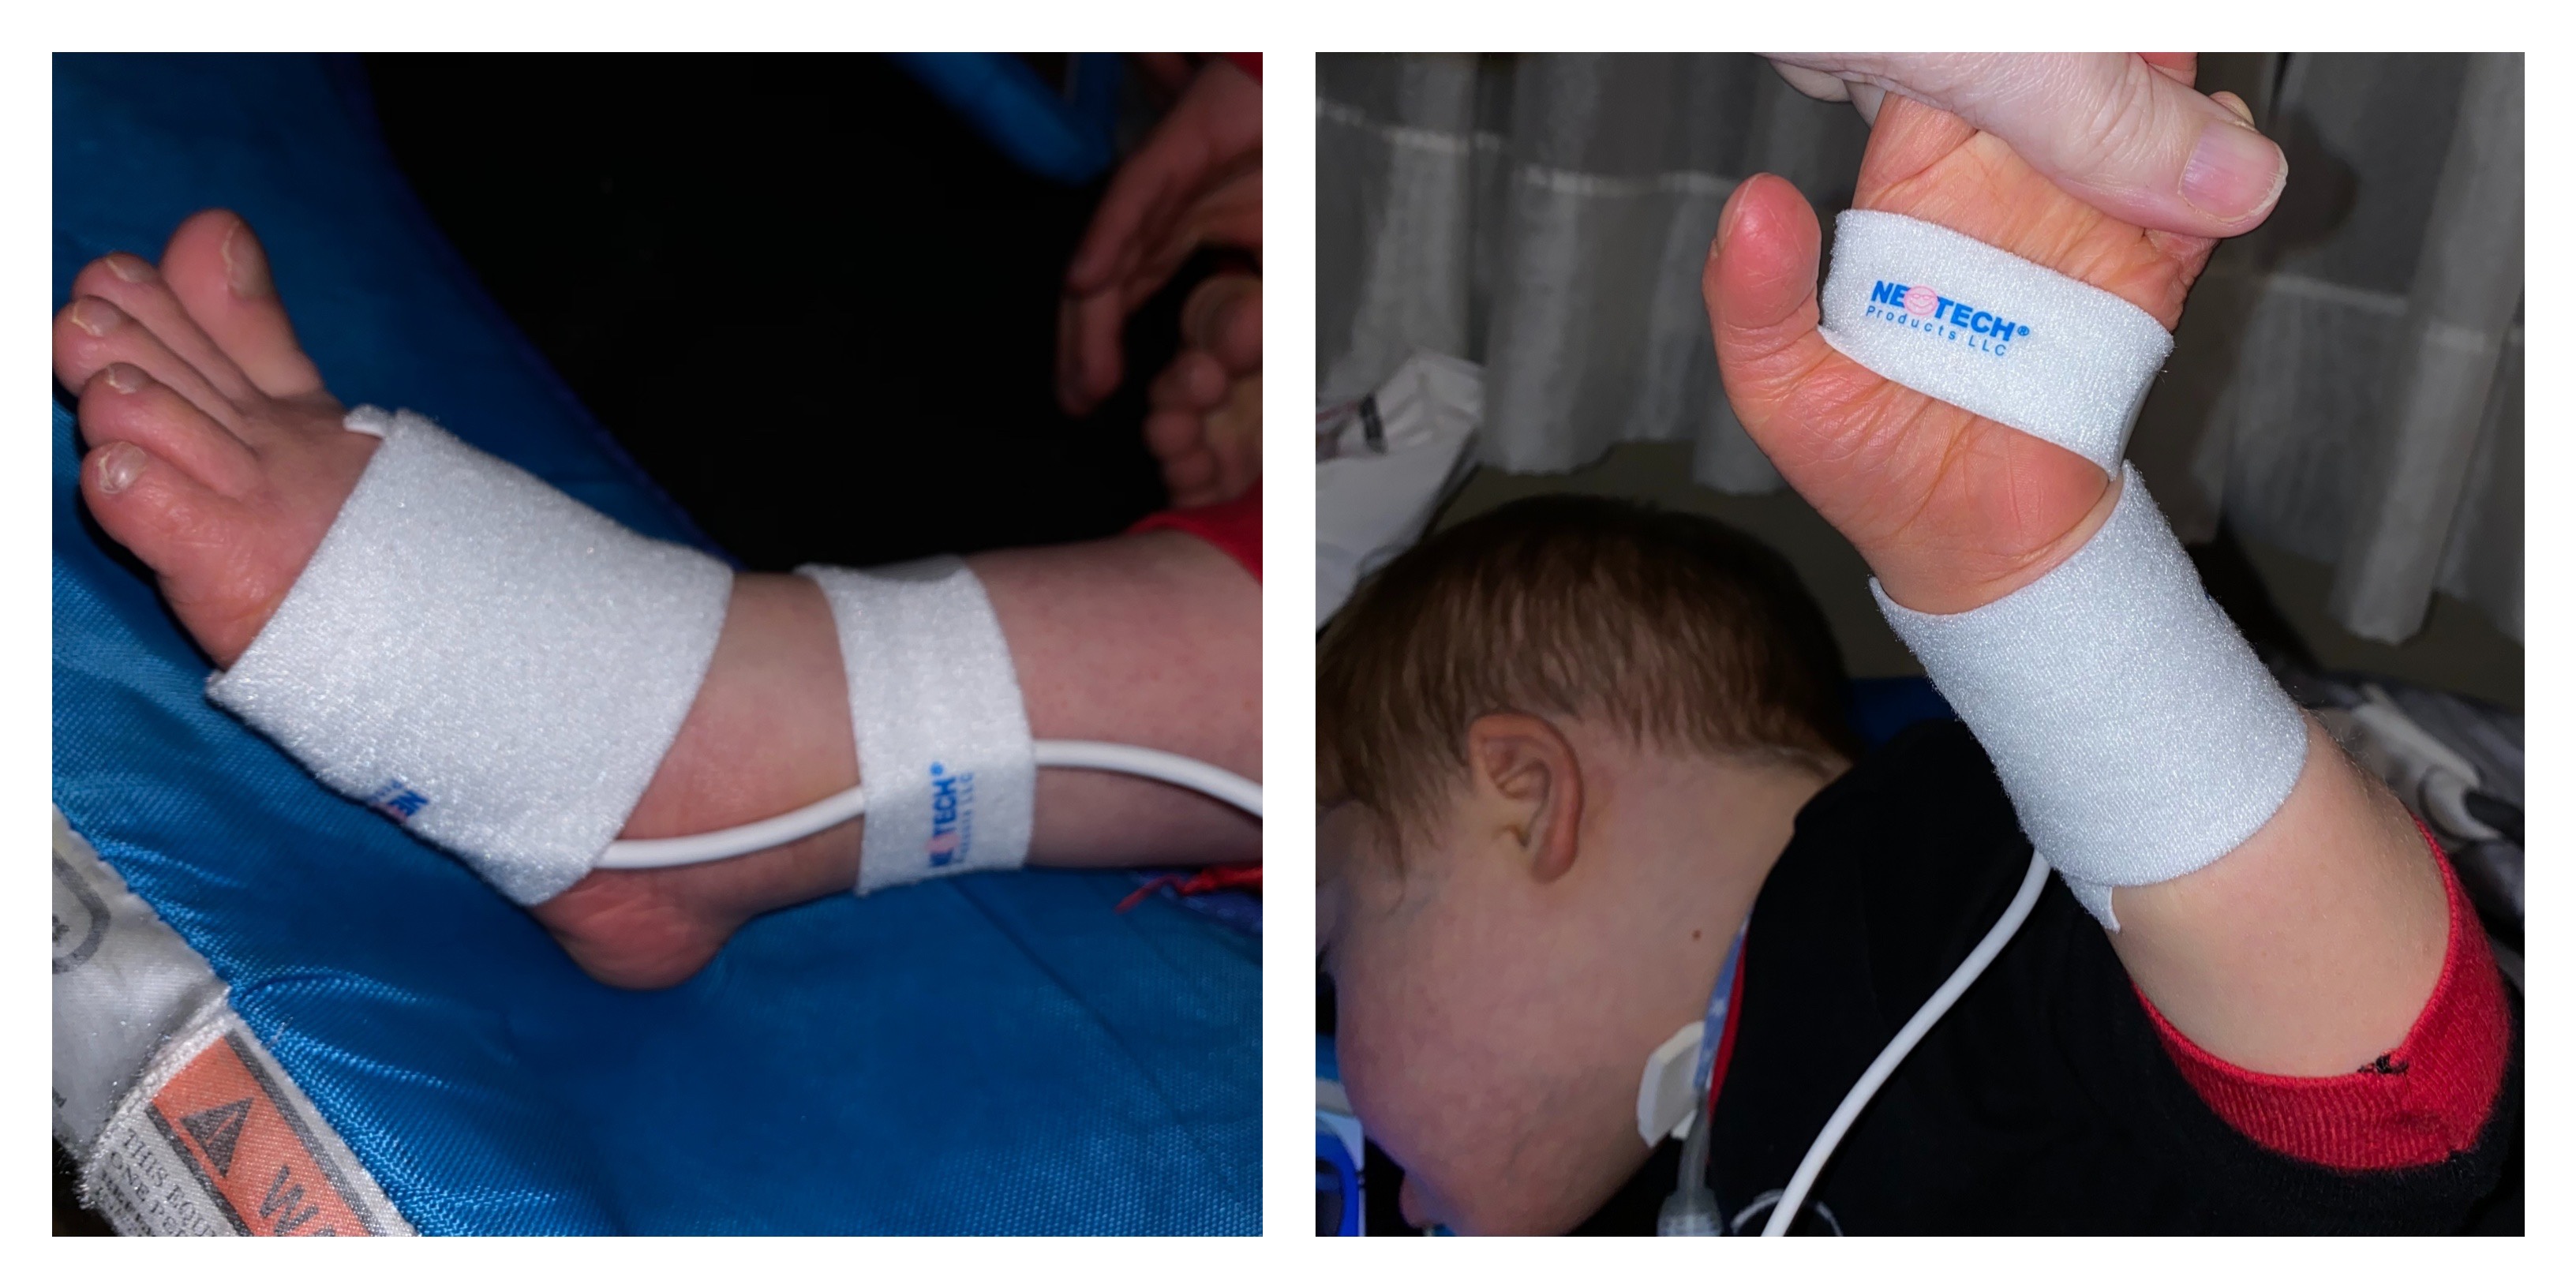
If you’re using the sensor on fingers or toes, you may want to consider ordering the smaller pulse oximeter wrap from Neotech – it can be used over top of the fingers or toes. When his fingers were an appropriate size to use it — we wrapped 2 fingers or 2 toes together to help keep the light focused and hold it steady.
Important Reminders and Warnings!
Pulse ox sensors can actually burn the skin. Remember to rotate the site frequently, especially if you are using it 24/7. Most hospitals have a policy to rotate them every 6-12 hours.
I said it before, but I’m going to say it again: when using a wrap over a cord, make sure you’re watching for pressure ulcers — keep the wrap tight enough to support the cord, but not too tight, and consider putting something between the skin and wires (like gauze).
Also, pulse oximeters use laser lights. Don’t look directly at the light.
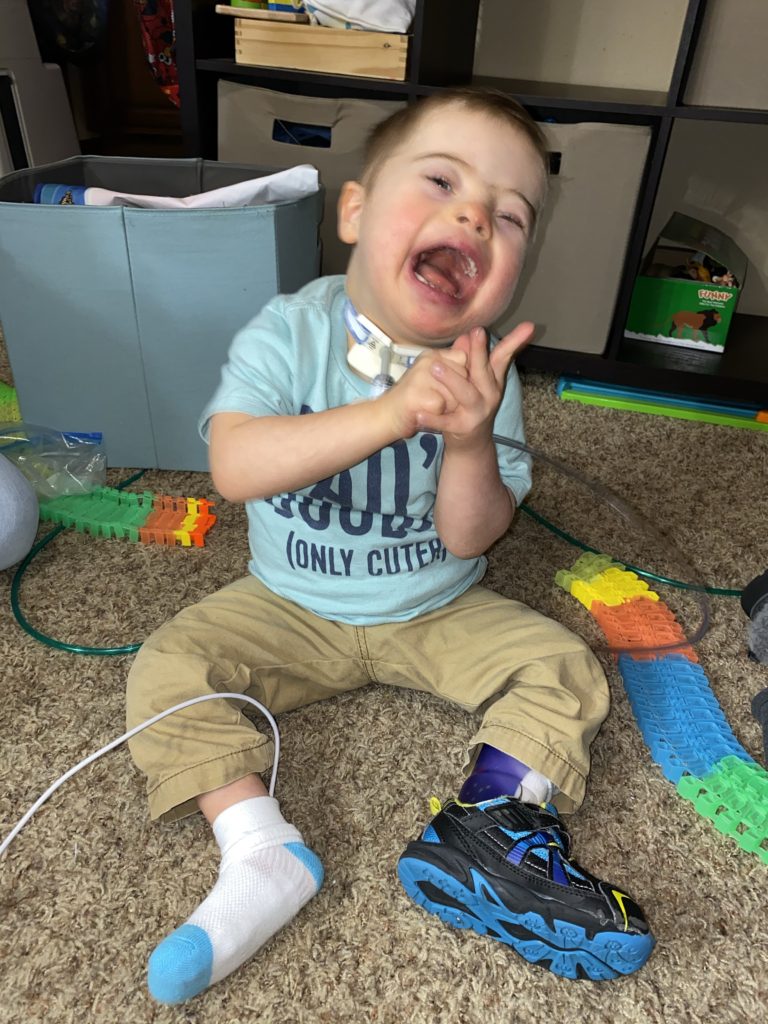
Even when we do all of these things, sometimes we still end up fighting with the beeping machine and the odd sensor that doesn’t last nearly as long as we would have liked. But these little tricks have definitely helped along the way!
For our seasoned veterans — What other tips and tricks have you learned for making pulse ox sensors work better and last longer?



The only thing I would add is that to clean the sensor it is helpful to use an alcohol wipe.
Thanks!! I added that too!