When you have a group walk coming up, and you suddenly realize that you need a themed shirt, sometimes you have to get creative. This DIY T-shirt is quick and easy – the wash and dry cycles of the laundry machines are the longest part!

Averie has apparently grown taller than she was last year. With the HADSA walk approaching, I realized that she didn’t have a shirt to wear that would match the rest of us. Typically, I bust out my Cricut and do a vinyl heat transfer for things like this, but we thought we would try something different.
Okay, FINE. Here’s my confession: I didn’t want to dig out and charge my computer, so Aaron saved the day by volunteering to do this craft himself. He even helped with pictures along the way!
How to Make a Quick DIY T-Shirt with a Focal Image Using Bleach:
What you’ll need:
- Colored T-Shirt
- Spray Bottle
- Bleach
- Colored Contact Paper (Adhesive Shelf Liner – any design)
- Exacto Knife and a Cutting Board or Scissors — depending on the image selected
- Access to Laundry
- Optional: Clear Contact Paper OR Vinyl Transfer Tape
- Optional: Tape
- Optional: Printer
What you’ll do:
Step 1: Print or trace the design at the size you’ll want it on the shirt.
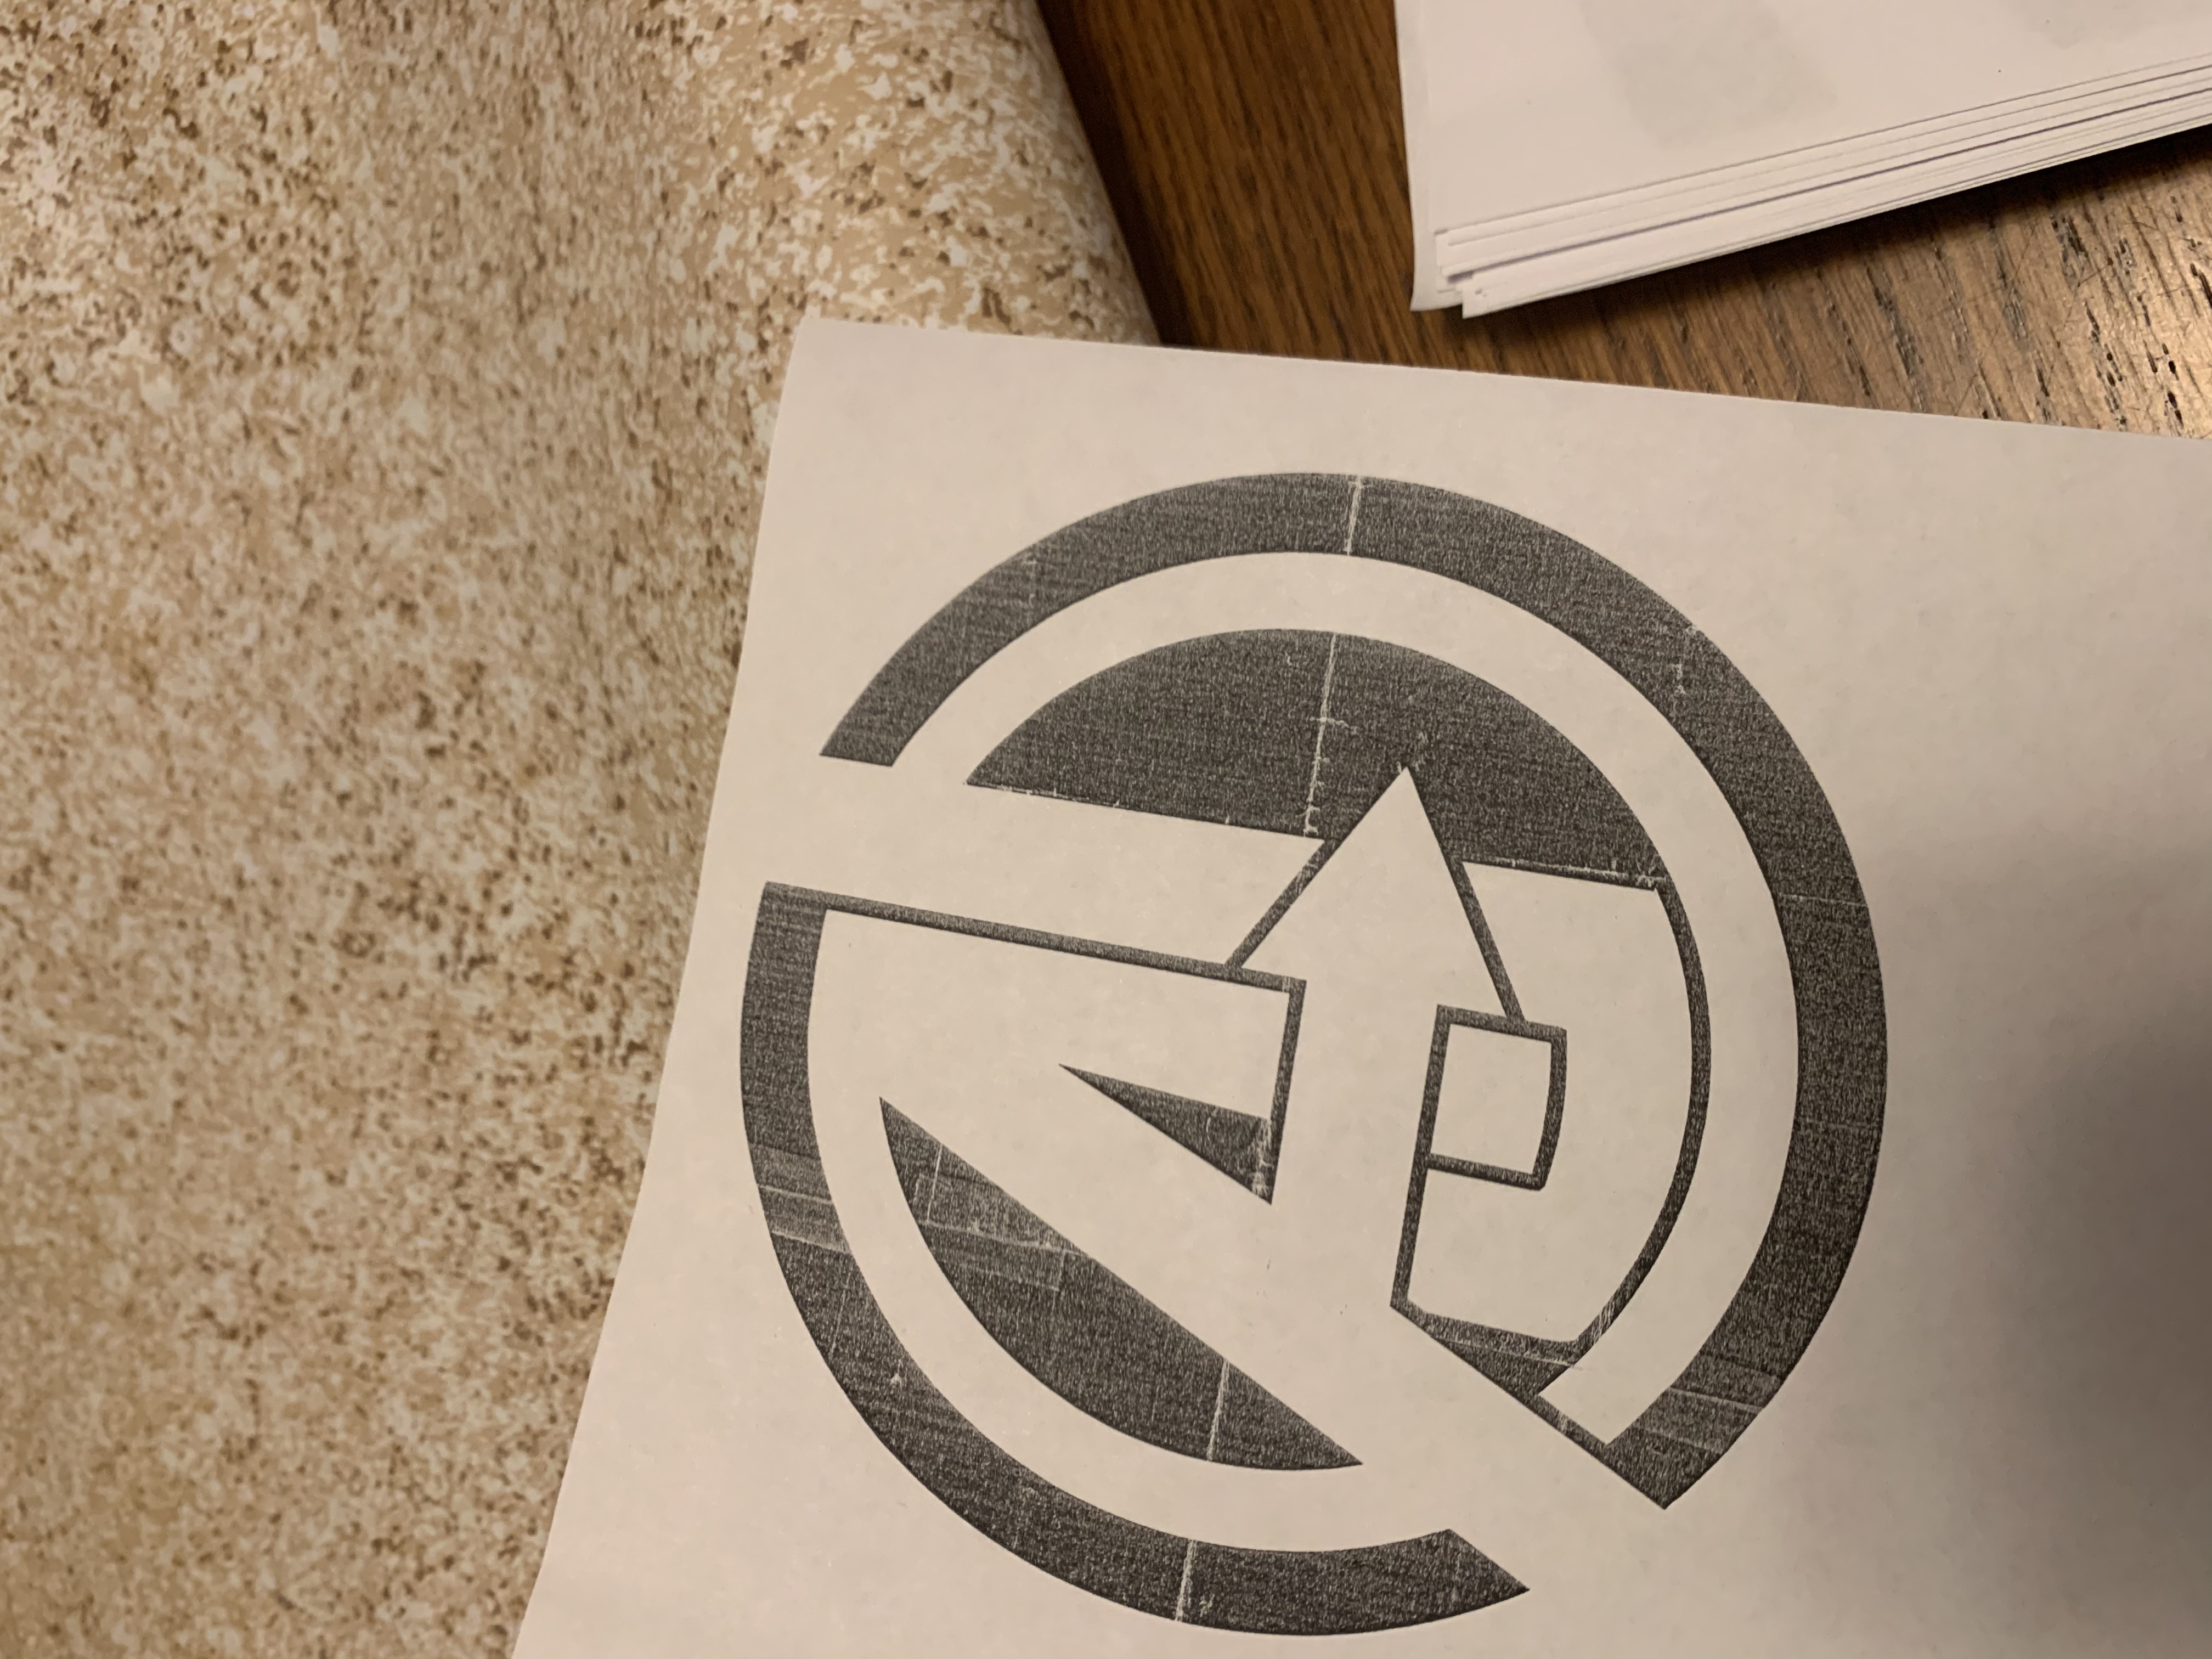
The more simple your design is the better — these shirts are not going to have precise lines. For our shirts we used AJ’s Avengers logo. You can accomplish the same thing with a shamrock, a letter, or a heart… Almost any shape will work.
Step 2: Cut the design out of the contact paper.
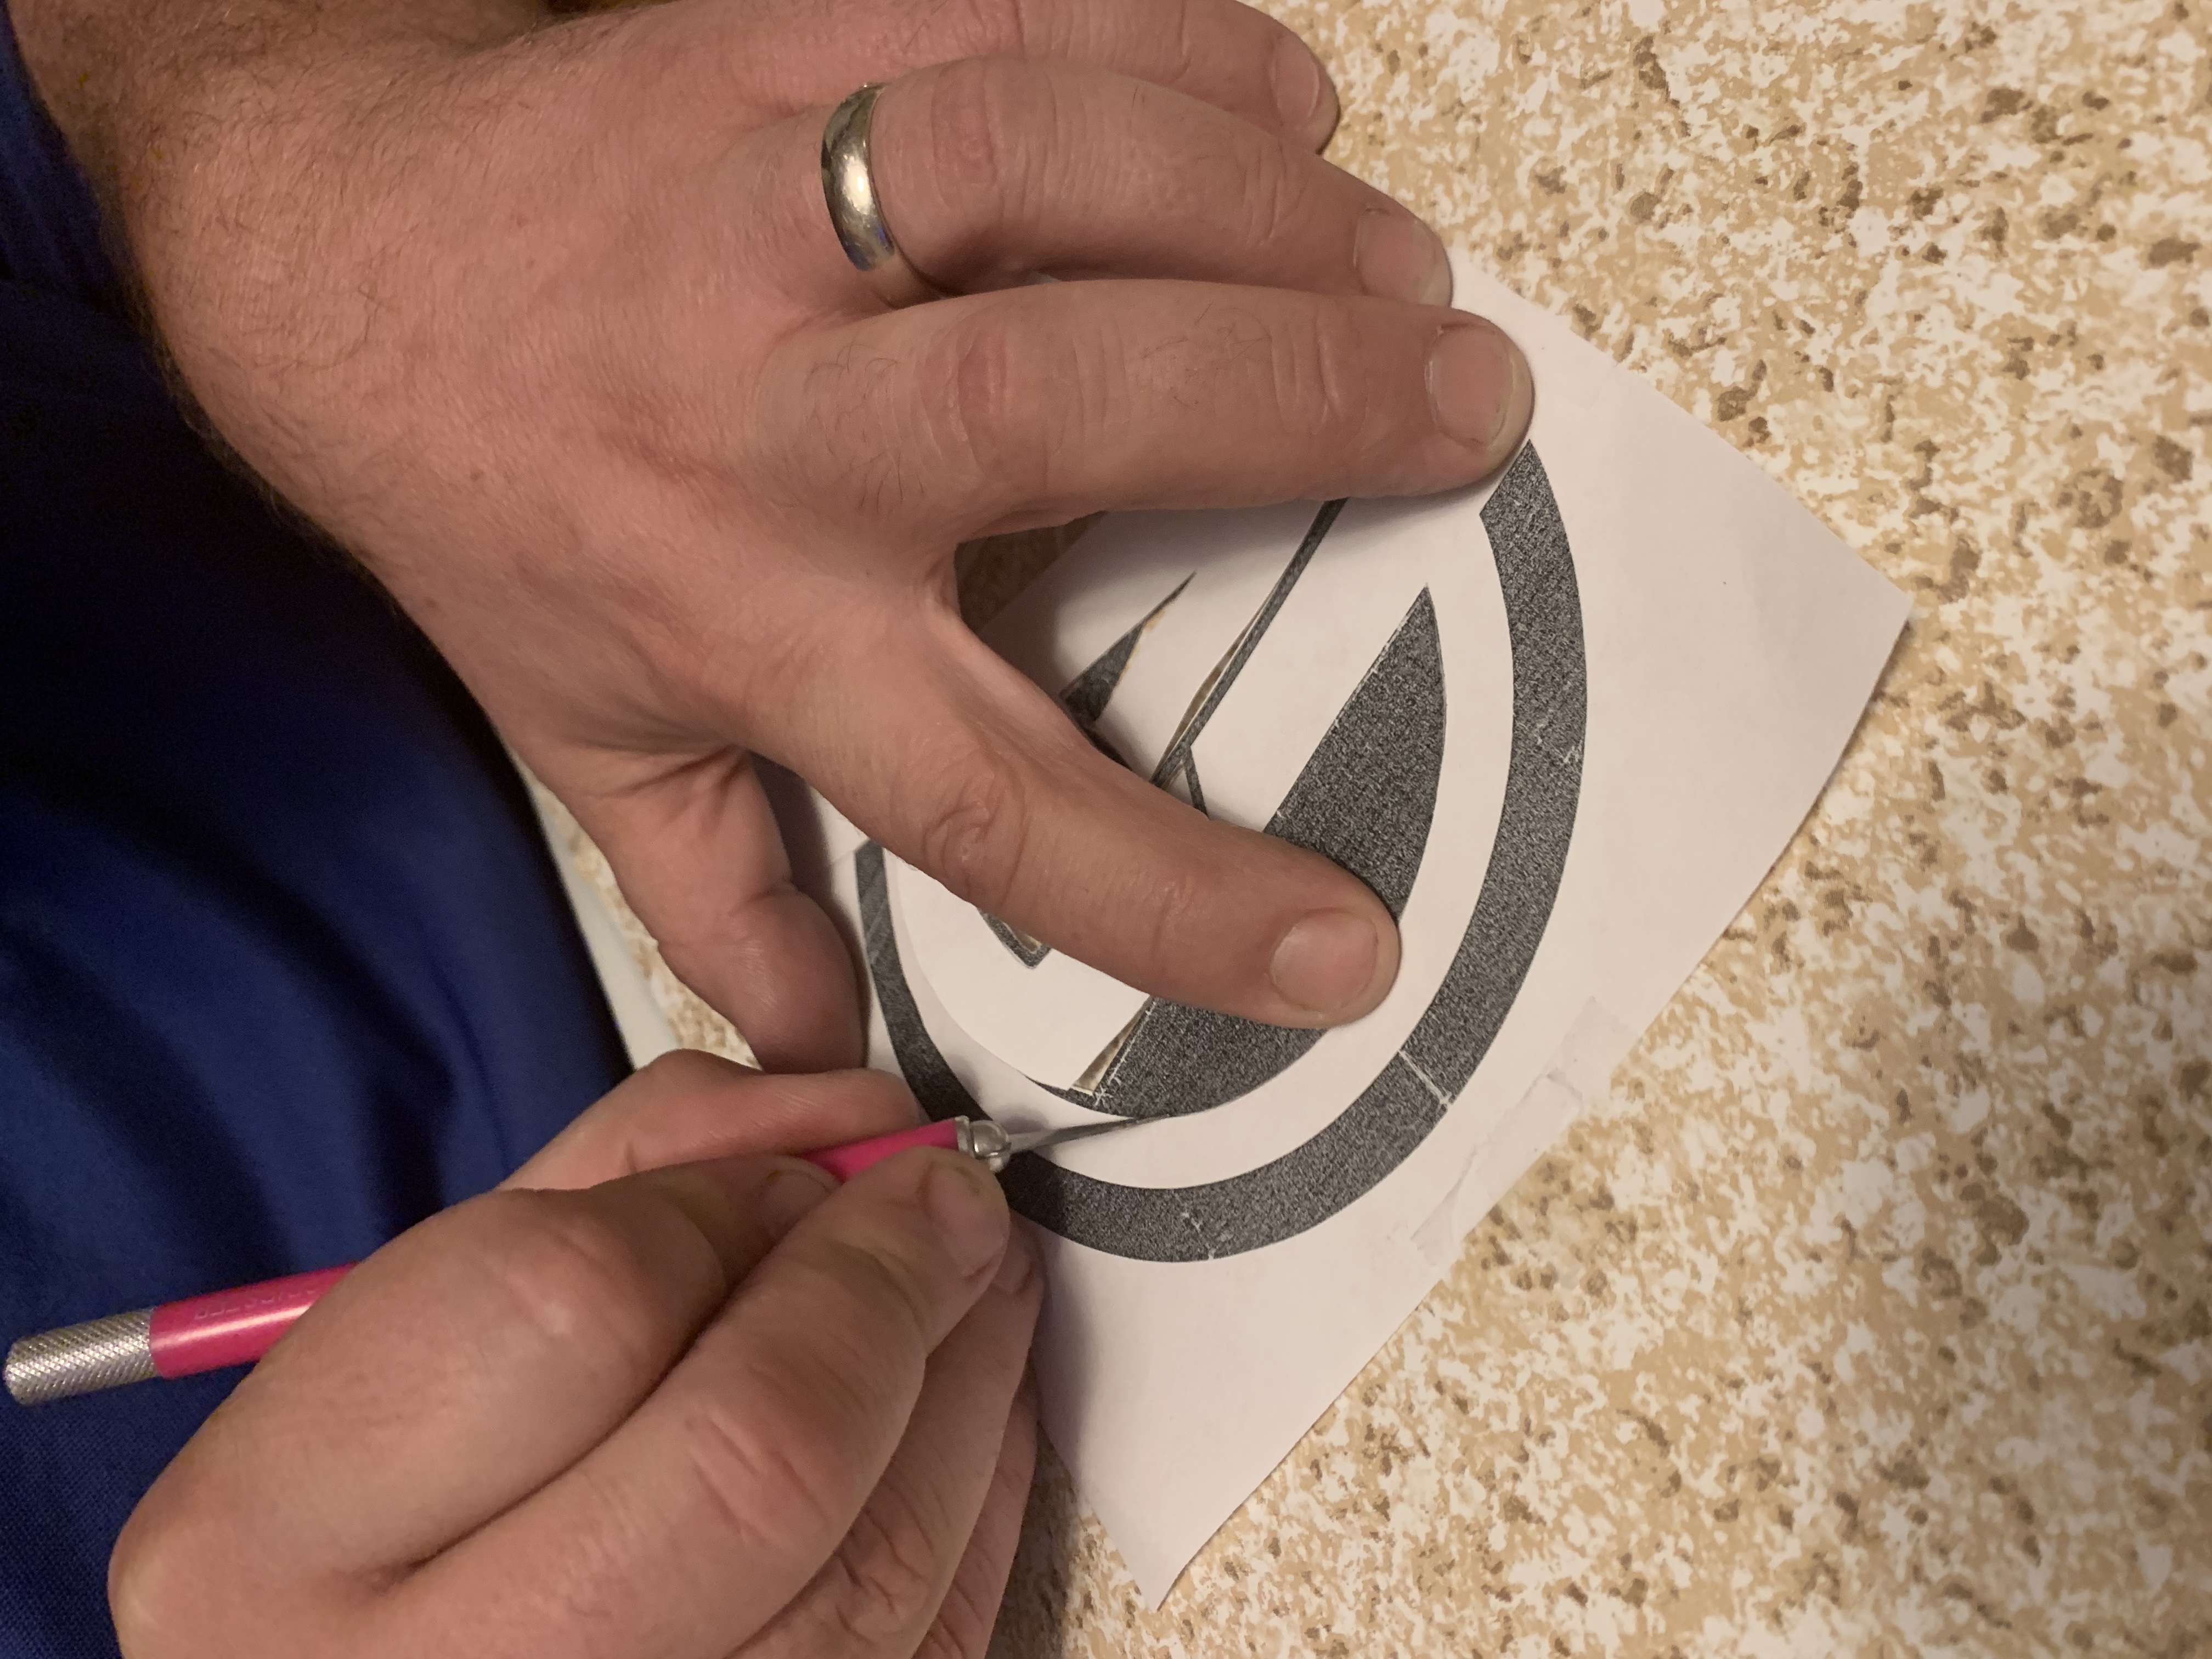
Place the design on top of the contact paper. Secure it with tape if desired. Use your Exacto knife to cut out the part of the image that you want to appear lighter on the shirt.
Carefully remove the printed / drawn / traced design from the contact paper.
If your image is simple enough, you may be able to use scissors to cut out your design.
If your design is complex — try not to cut through the backing of the contact paper, and do not remove the unwanted pieces from the design yet.
Step 3: Optional: Apply clear contact paper or vinyl transfer tape.
If your image is simple, you may not need this step. Since our image had many parts that we did not want to have to place on the shirt individually, we did use a transfer tape.
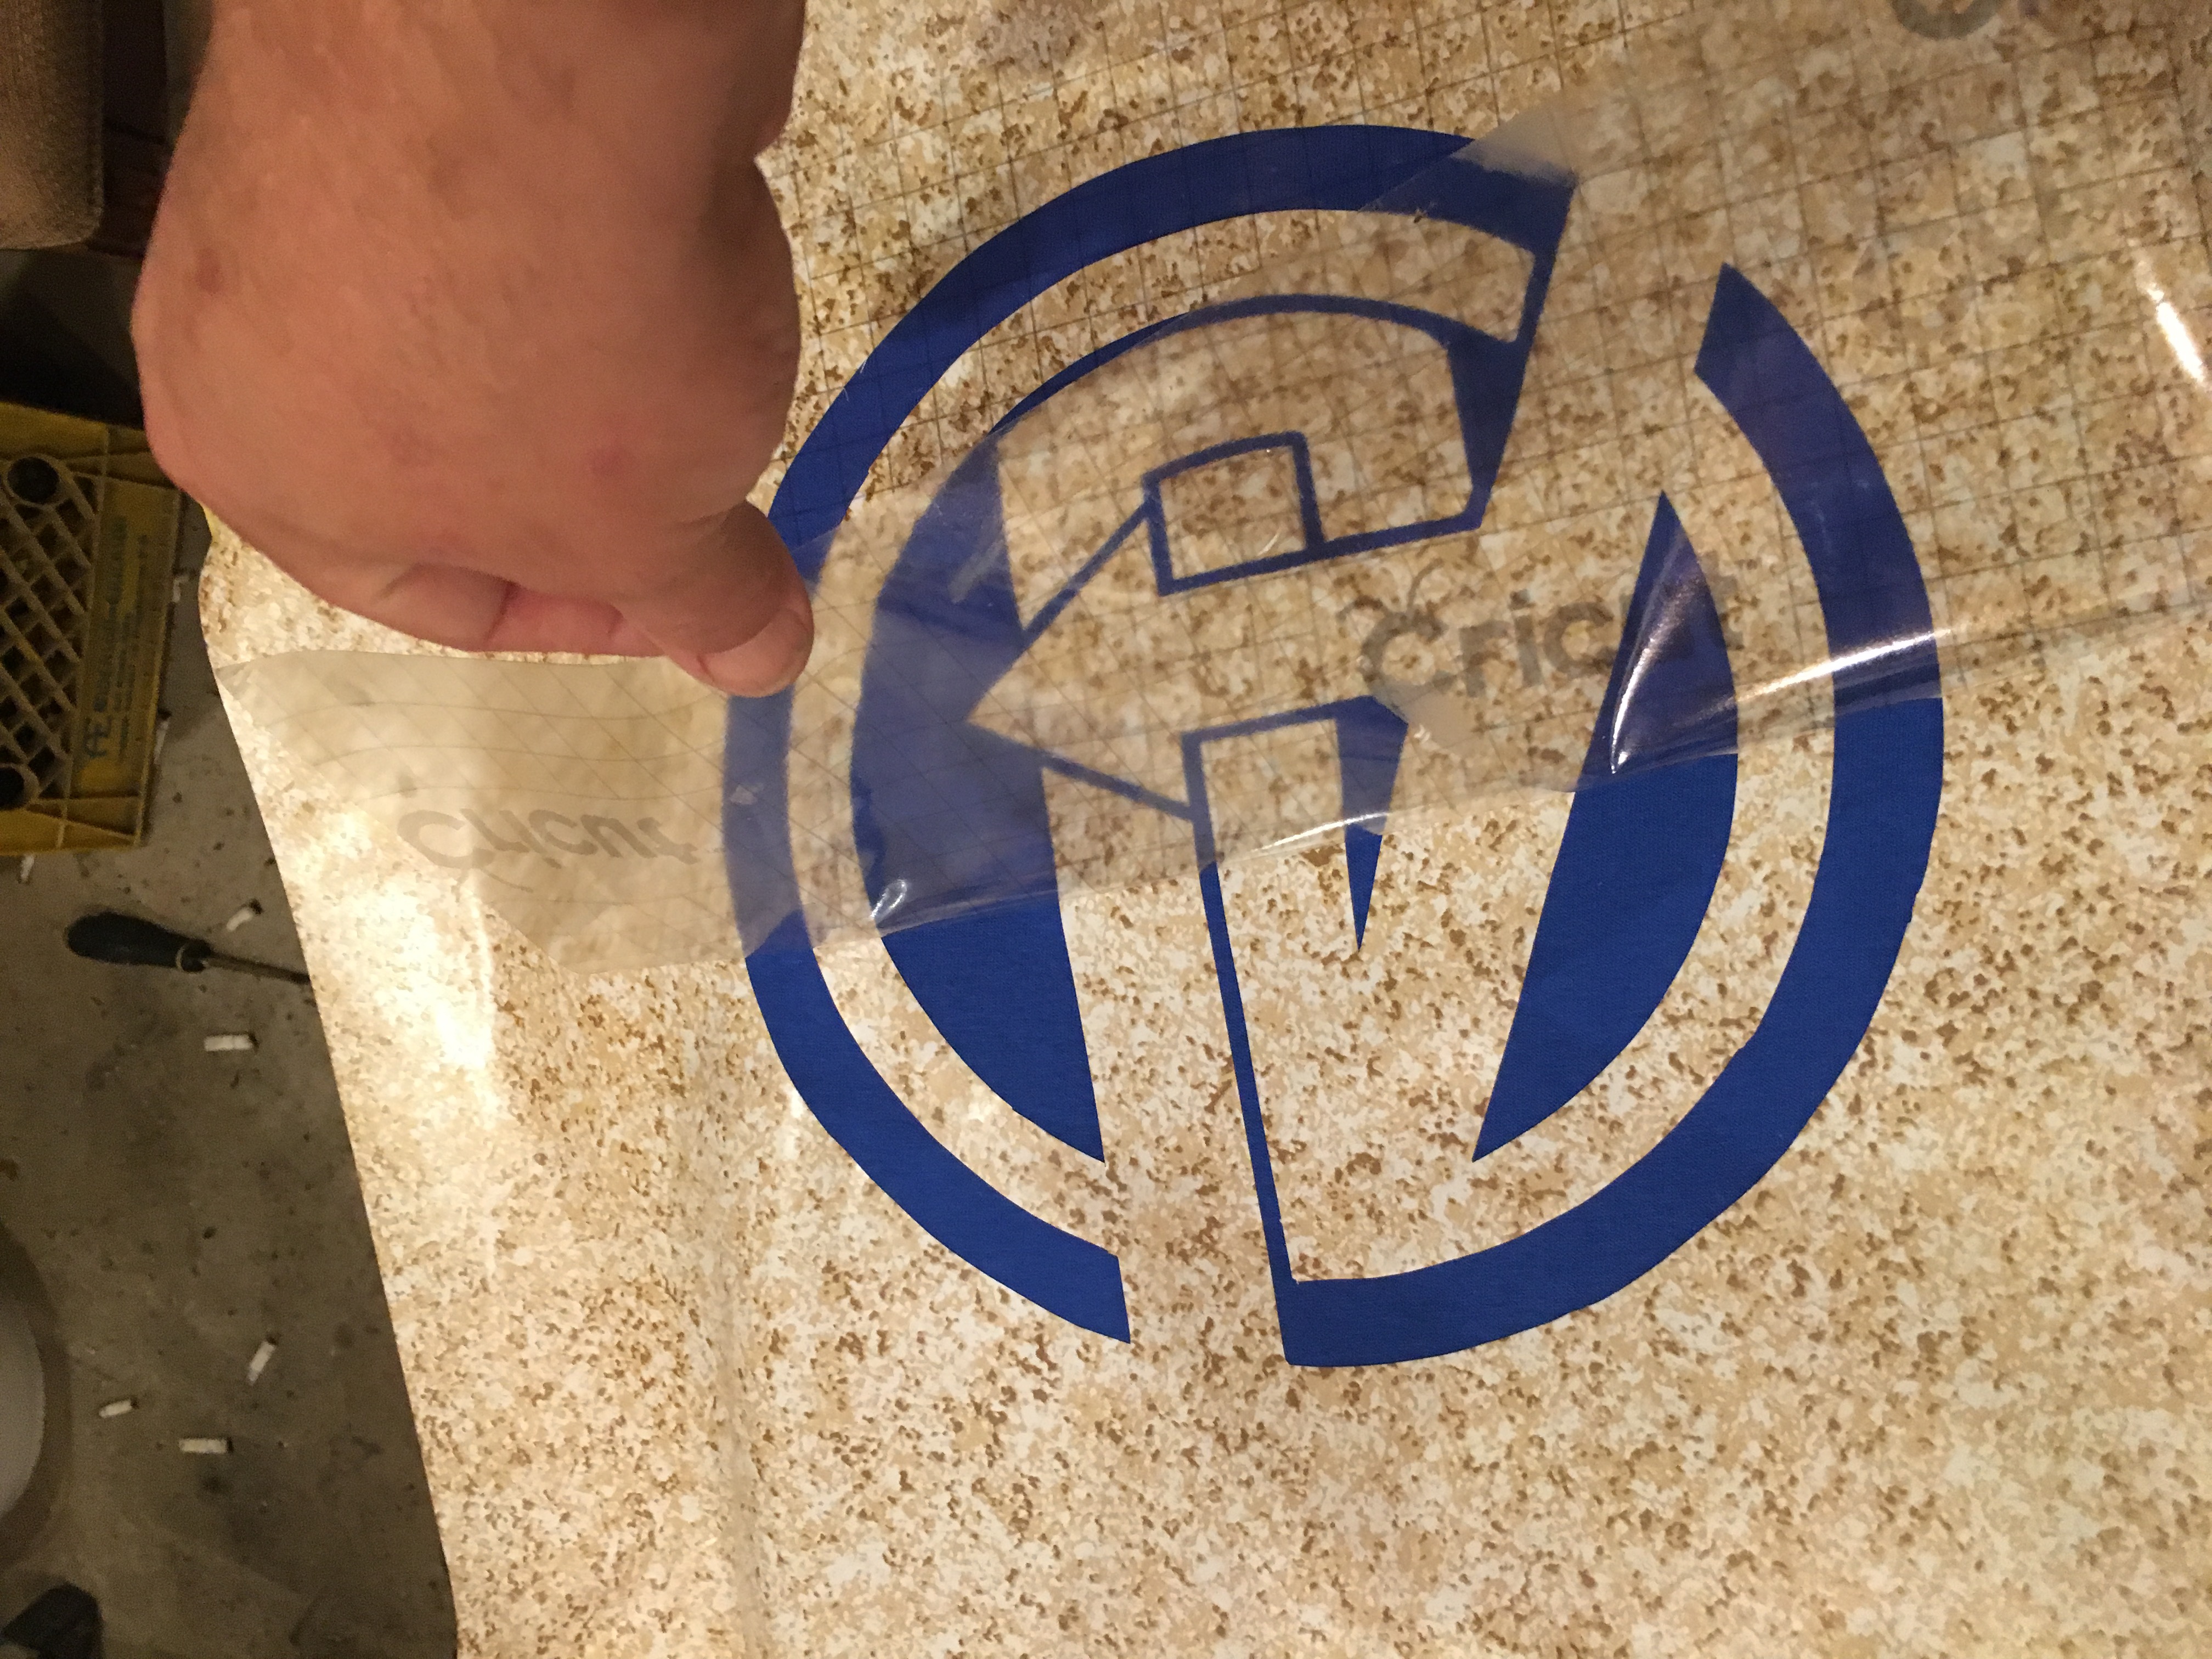
Remove the backing from the clear product and place it over top of the pieces of the image.
Flip the design upside down so that you’re now looking at the back of the design.
Step 4: Weed the design.
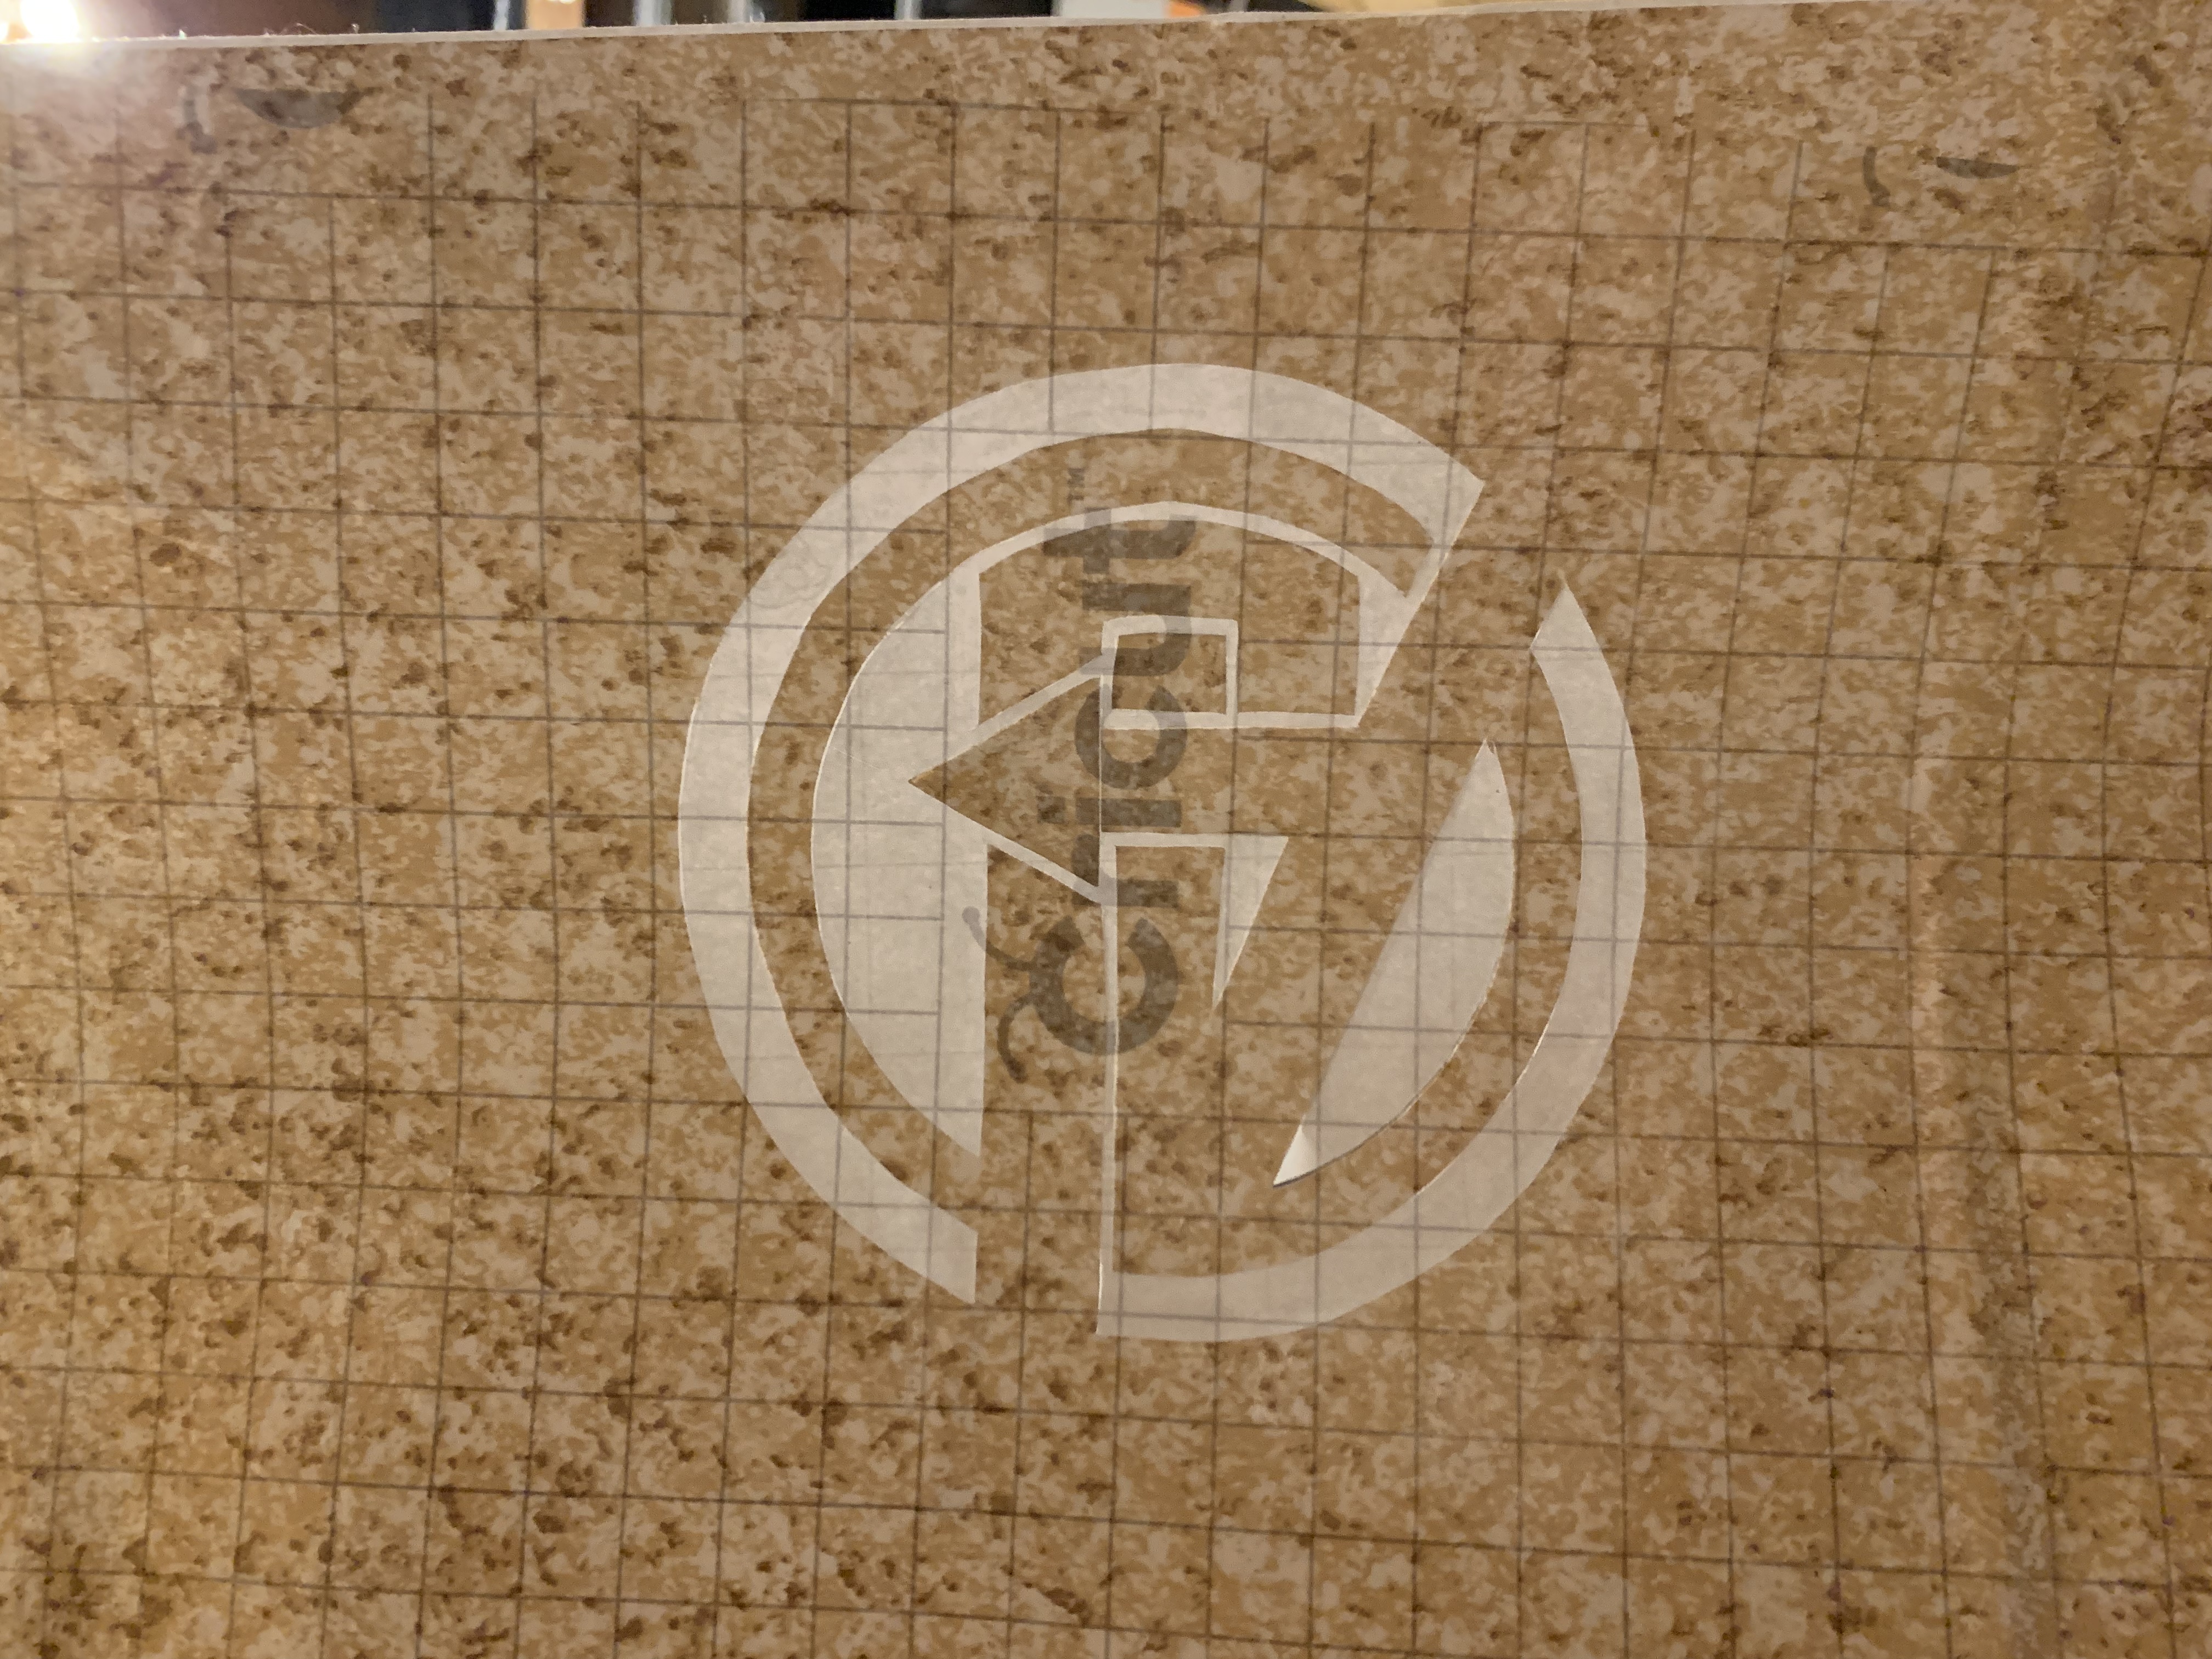
Remove the pieces of the design that you will want to appear lighter.
Step 5: Prepare the shirt
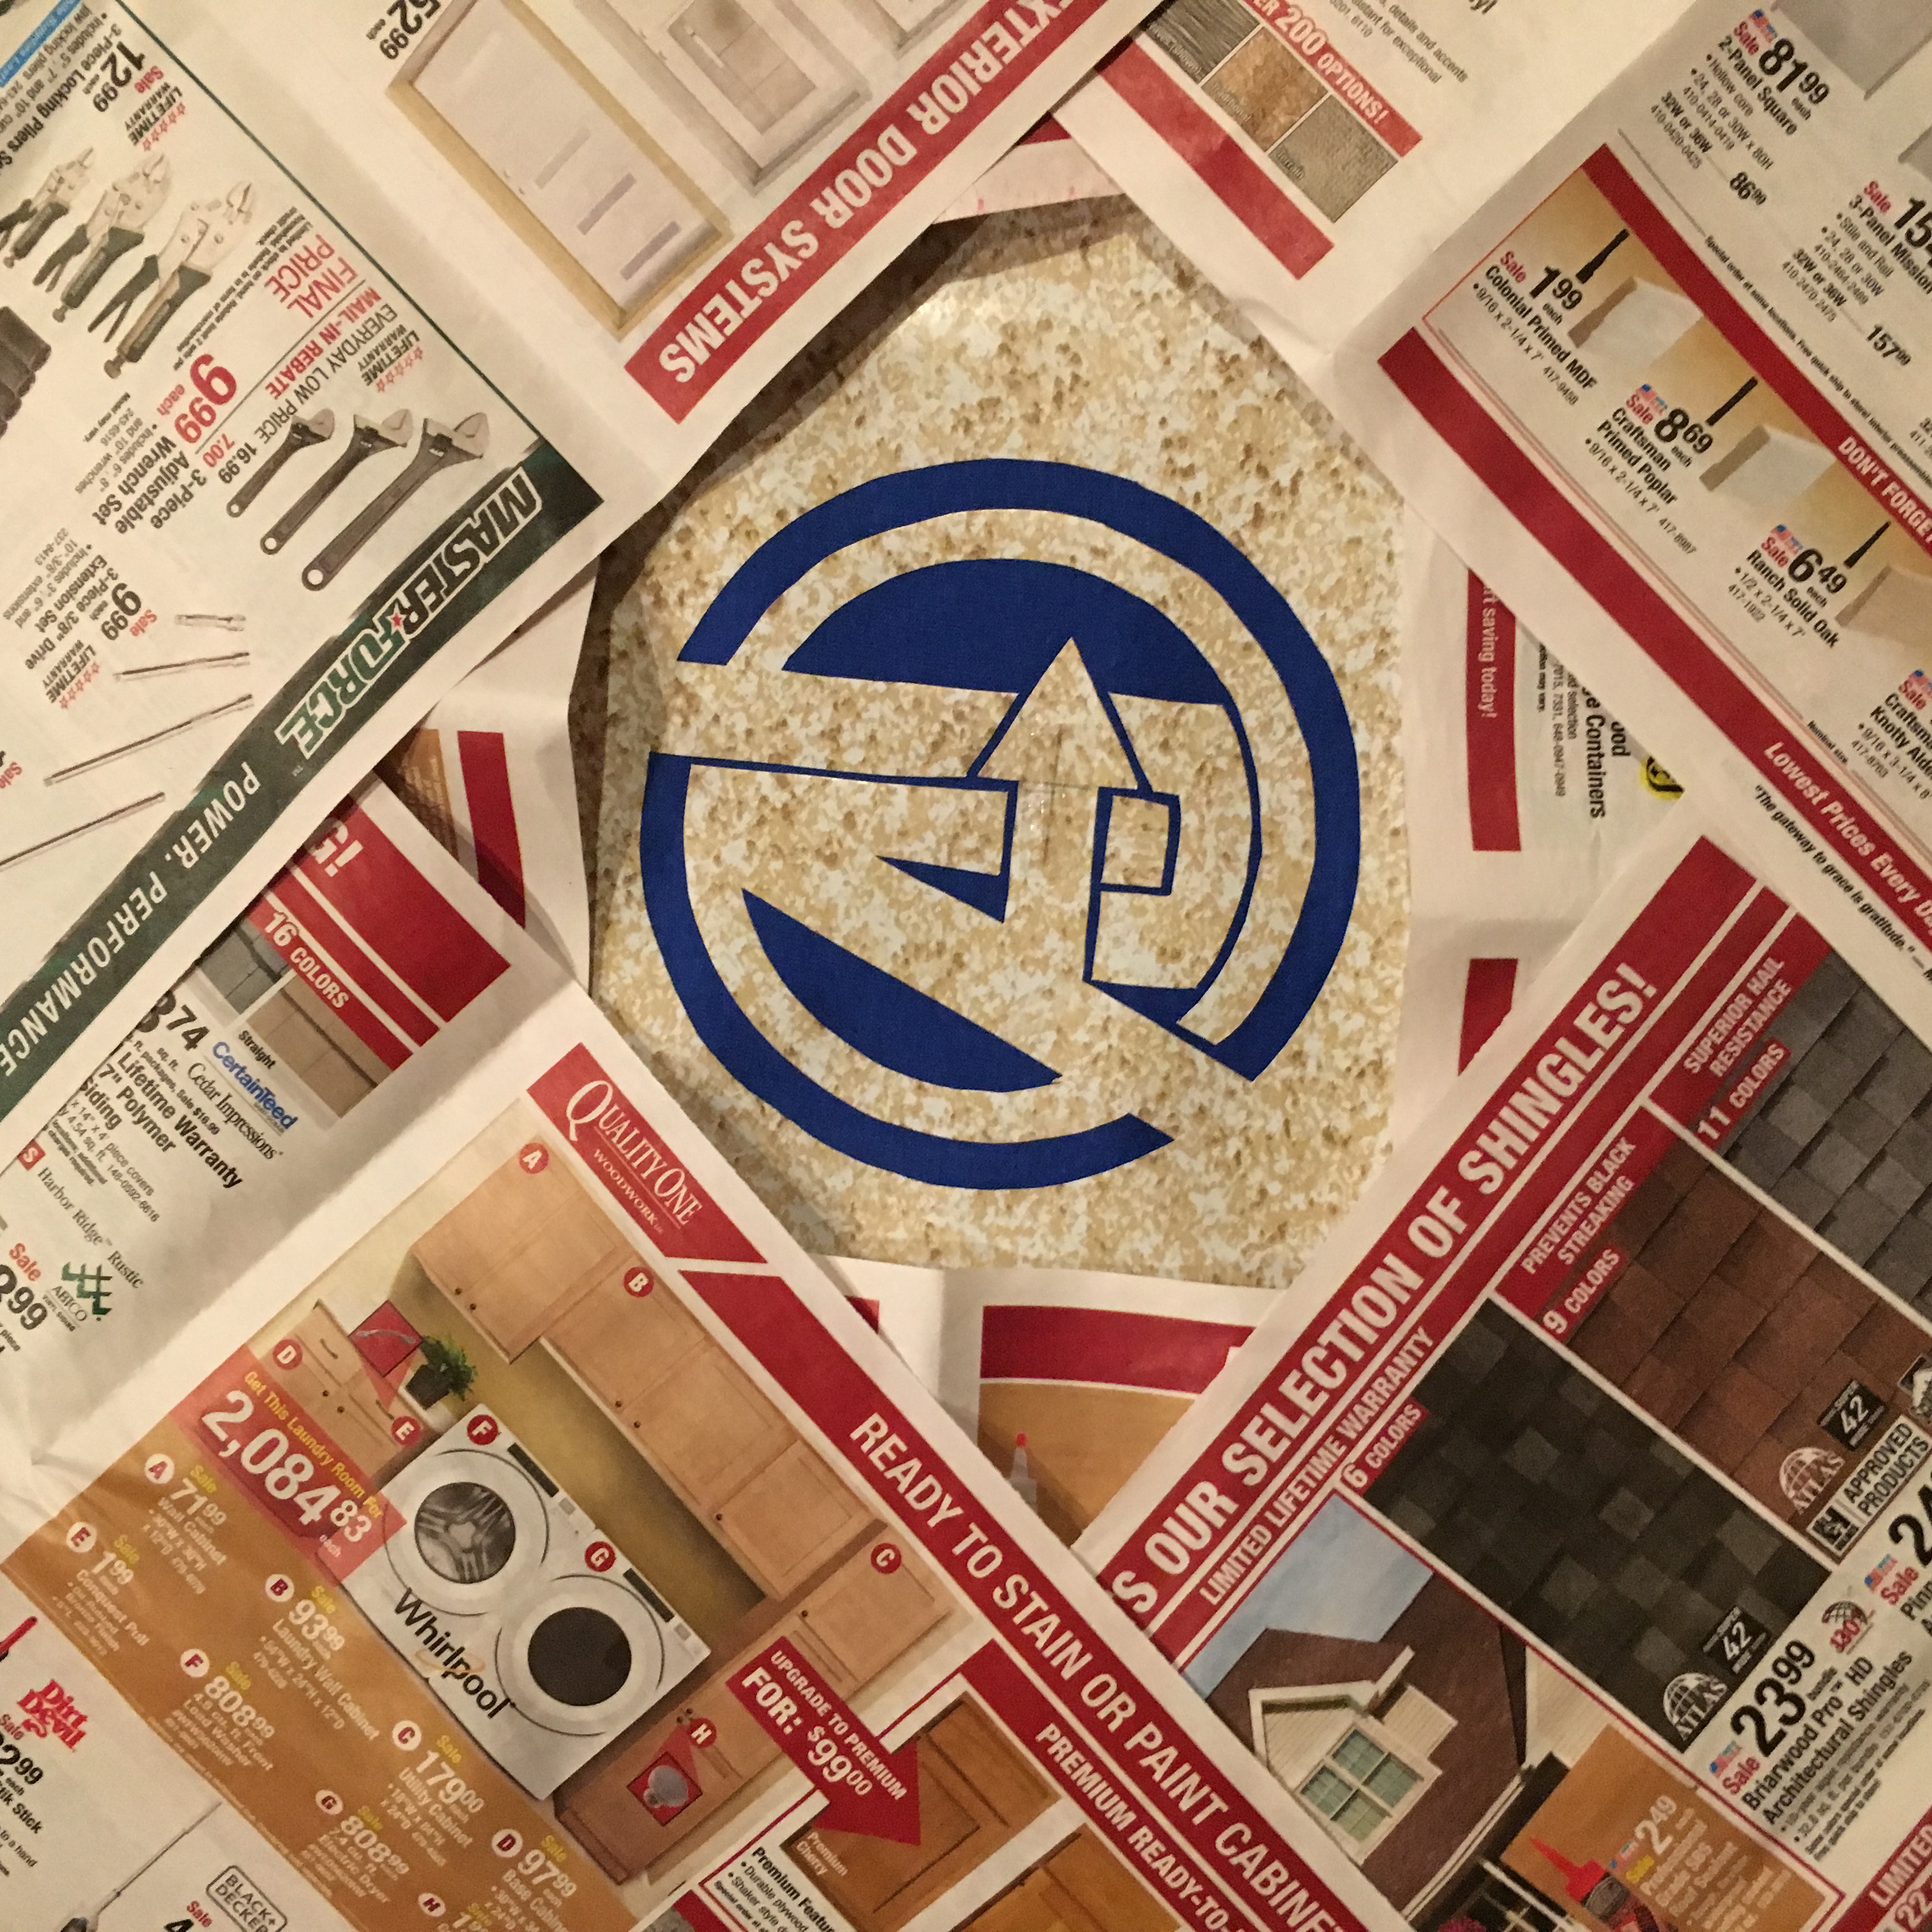
Place a cutting board, or other plastic object inside of the shirt. This is done so that the bleach does not go through both sides of the shirt.
Place the contact paper design on the shirt. If you used transfer tape / clear contact paper, position the entire image on the shirt, and then carefully peel the clear cover off, leaving only the contact paper with the design.
Cover any part of the shirt that you do not want to see any bleach drops on.
Step 6: Create the Image
Pour a small amount of bleach into the spray bottle. Spray a light coating over the exposed areas of the shirt.
It will not take much, nor will it take long to lighten the shirt. After you’ve sprayed, watch as the shirt processes before your eyes. Once the color is where you want it, immediately proceed to the next step
Step 7: Wash and Wear
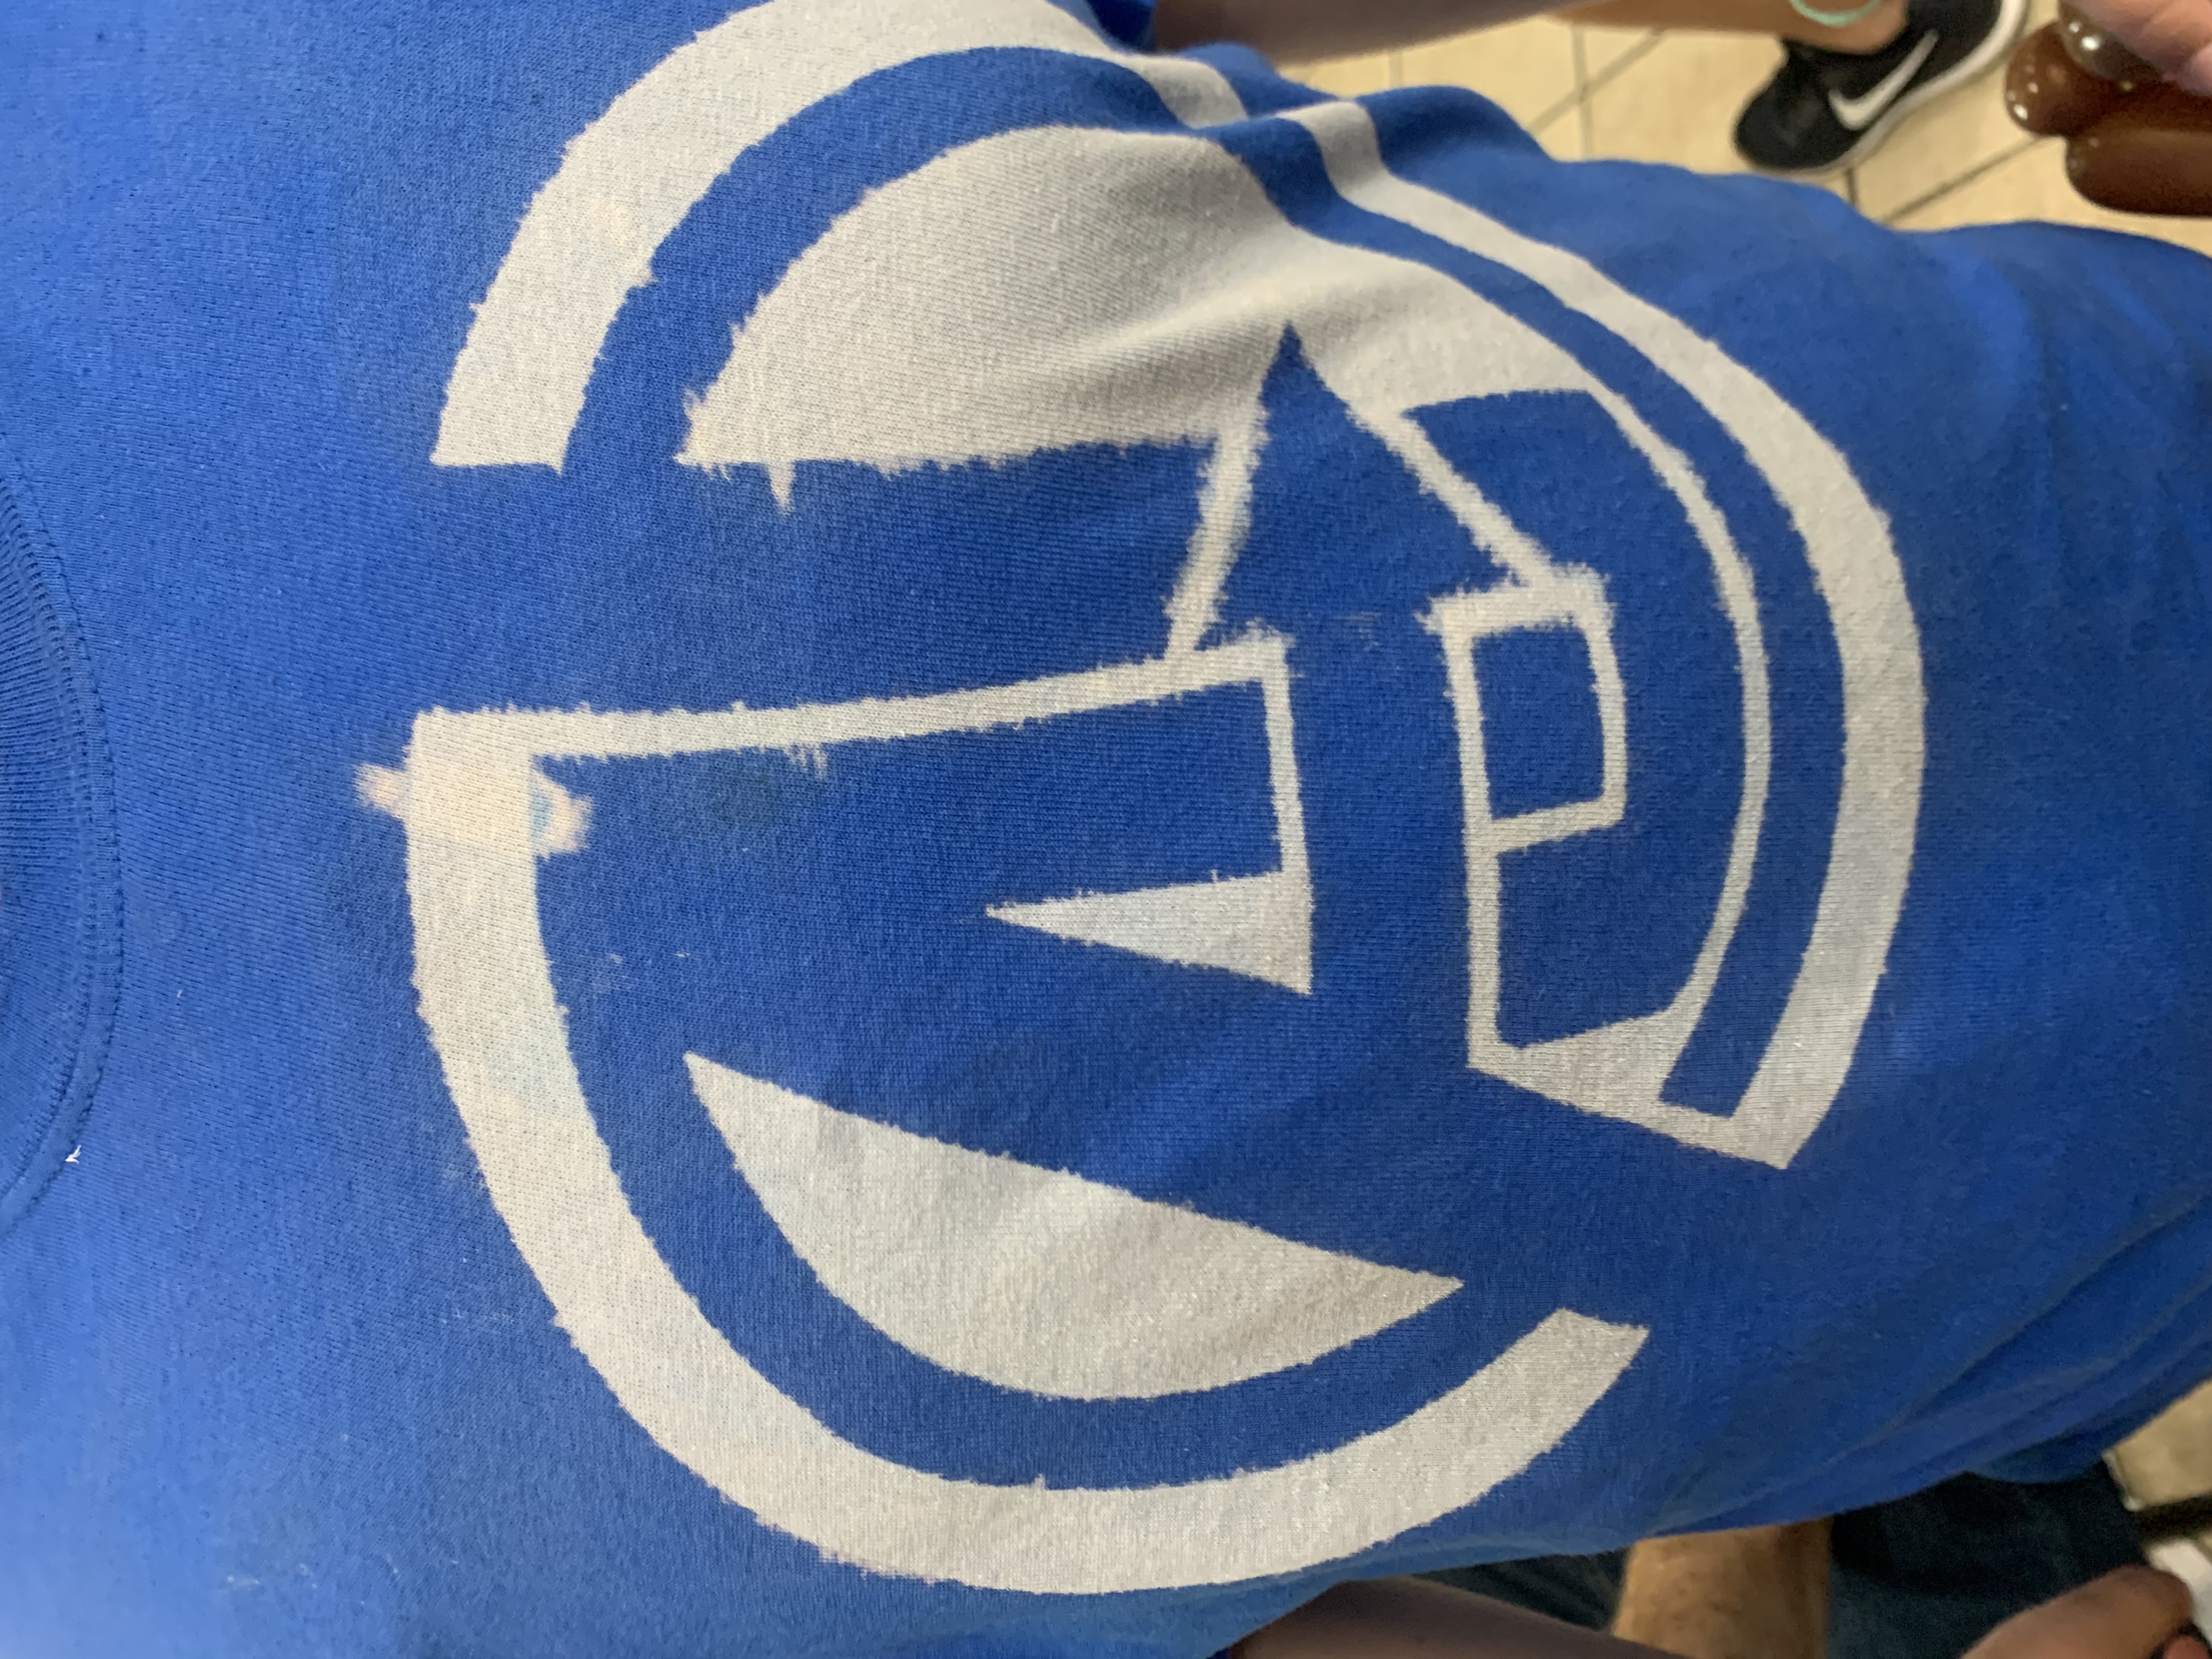
Rinse the shirt off in water to remove the bleach and then remove the contact paper design. Immediately wash the shirt in a load of laundry all by itself.

